
Do you enjoy taking stunning photos of beautiful landscapes but you are discouraged by the number of tourists who seem to photograph bomb every photo? It’s not just you! shooting in tourist hot spots can be quite a challenge especially when you’re dealing with hundreds of people moving into or out of the picture, it can make you wish that you’d simply stayed at in your home.
Don’t worry! With a bit of planning and a little insider information, you can create stunning landscape photos even in the most crowded spots. As professional landscape photographer I’ve experienced firsthand the annoyance of trying to capture an amazing photo of a stunning waterfall or a picturesque mountain range but having your photo destroyed by a crowd of people (or or even by others). So, I’ve come up with some tried-and-true methods to stay clear of crowds and capture the picture you want regardless of the location.
This article will walk you through the procedure of prioritizing and planning so that you can select the best timing and place to capture amazing photos without crowds. I also go over the most effective techniques that you can employ to remove people from the frame, so even if you’re forced to shoot in a tourist-filled location you’ll end up with some great photos.
Let’s begin!
1. Get up early
If you’re a lover of photography of landscapes, you already know that the golden hour which occur around sunset and sunrise – are the ideal moment to capture stunning photos. In these hours when the sun is at a low altitude, generating beautiful, soft lighting that is ideal for photography.
Did you know that getting up early in order to capture the golden hour lighting also can help you get away from crowds? Since the majority of travelers prefer to stay in and eat breakfast at their hotel, dedicated photographers should take advantage of these times to beat the crowd.
If you’re looking to take pictures of the stunning beauty of popular landscapes without the hassle of crowds, get up and set out prior to the crowds. You may meet some photographers but there will be plenty of space to shoot your pictures and relax without rushing to get in the right spot.
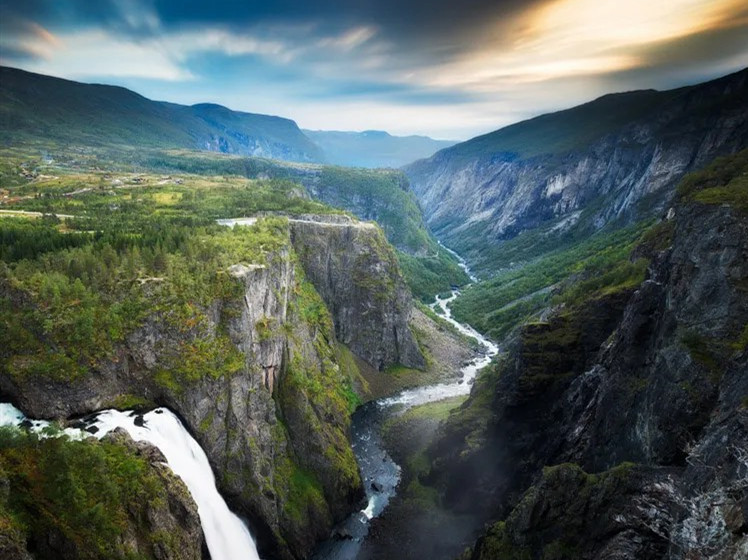
Here’s a secret It can take an hour or so for the first buses brimming by tourists, to make their way through the area following sunrise, based on the season. This should allow ample space to wander around and take amazing shots that are difficult to get as the crowds start to arrive.
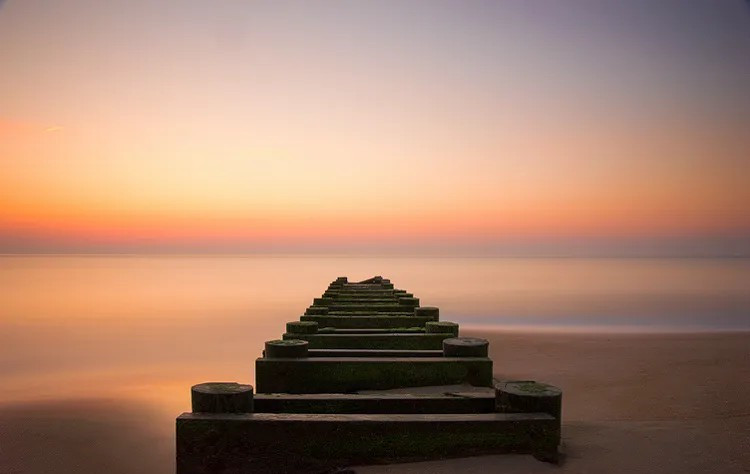
2. Enjoy the beauty of the sunset
If waking up early to catch the sunrise doesn’t sound like your cup coffee, don’t fret because you can take amazing landscape images in popular locations at sunset instead. Though the crowds are likely to increase at this time of the year, particularly when you’re in busy towns, the majority of those present are fellow photographers.
In the time of sunset, lots of tourists go back to their hotel rooms or out for dinner, leaving photographers left behind. As fellow photographers photographer, they tend to be aware of how difficult it is to capture the perfect photo at these places that are popular, so they’ll be more considerate and aware of each other. It’s likely that everyone is trying to stay clear of one another’s path.
The most important thing? As everyone is seeking the most effective compositions and compositions, you might find that people – and even you! tend to be within the same spots while leaving other areas open and ready for you to take the perfect photo.
Don’t be hesitant to stay for a while after sunset, either. The enchanting evening blue-hour which follows provides an unreal light that could provide a stunning effect to your photographs. In addition, by the time you finish the crowds have dwindled even more and give you more room to create your photography.
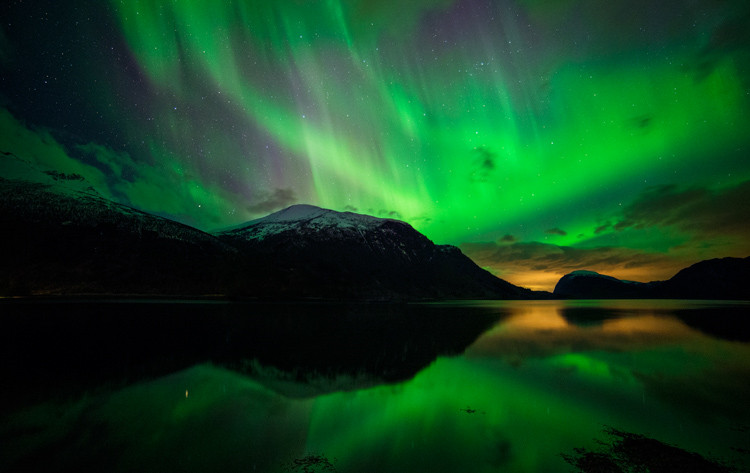
3. Capture the night sky
If you’re searching for a different and interesting method to capture popular landscapes and landscapes, then photography in the night is definitely something you should trial. If you experience the experience, you’ll become hooked!
Not only will you get the chance to capture stunning photos of stars as well as to take in the sights with less people. The majority of people will be curled on their beds while you’re exploring. And even if you do happen to bump across other photographers at night you’ll find them very few and far between which will give plenty of room to capture your photo.
Another benefit to nighttime photography is the fact that it enables photographers to take pictures that stand out from common shots that are taken in the daytime. The dark, intense light, way the stars shine in the sky, as well as the mysterious stillness of the scene can create a unique, beautiful atmosphere that creates breathtaking images.
However, night photography can present some difficulties. One of them is that you’ll have to give up some sleep in order to get those great photos. In addition, you’ll have to prepare for your security. Be sure to inform your family members where you’ll be, and you have a clear plan to navigate in darkness. Don’t forget to bring a warm drink to drink since it’s quite chilly at night!
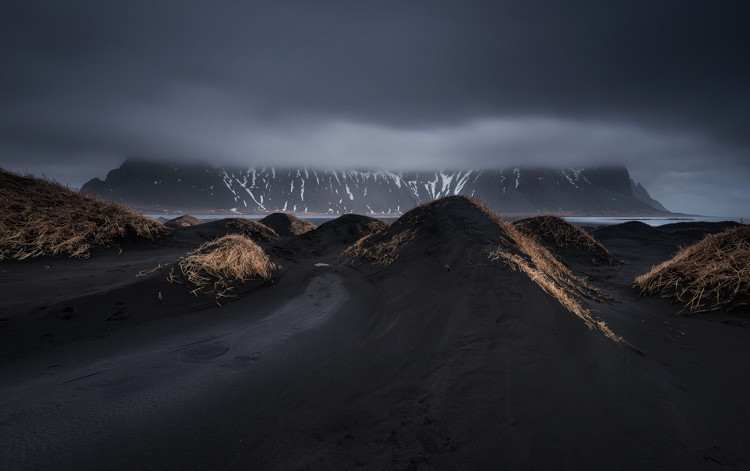
4. Select the month with care
If you’ve already arranged an itinerary and have your dates set the calendar, this advice isn’t much help, however, if you’re trying to figure out when to go and plan your trip in the off-season could be a big difference.
It’s always simple to have breaks during non-holiday times Some destinations are just best during certain seasons in the calendar. For instance, if you’d like to capture the stunning blooming tulips during the PSNW (Washington/Oregon) Tulip Festival or the blossoming cherry blossoms in Japan You’ll have to be there during a particular timeframe.
However, if you’re not taking photos of a particular occasion, going during low seasons is a smart idea. Not only will you be able to avoid the most crowded crowds, but you could also get to experience some unusual weather conditions and lighting.
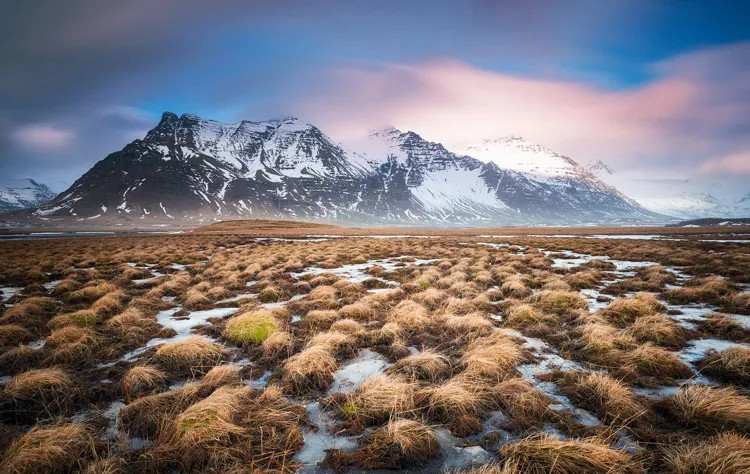
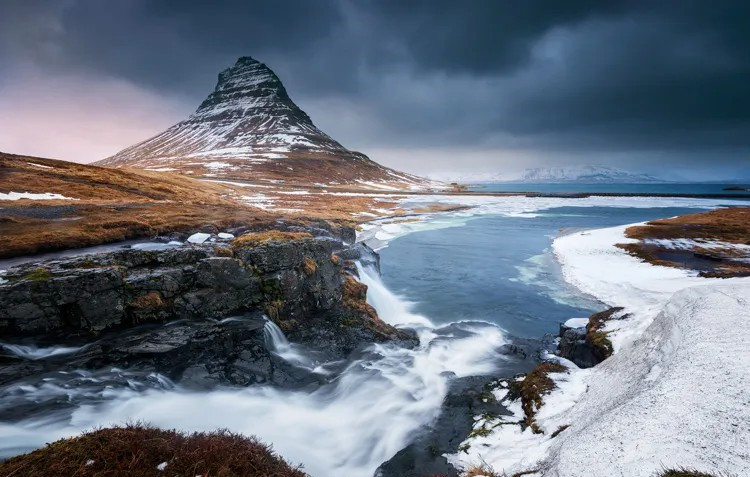
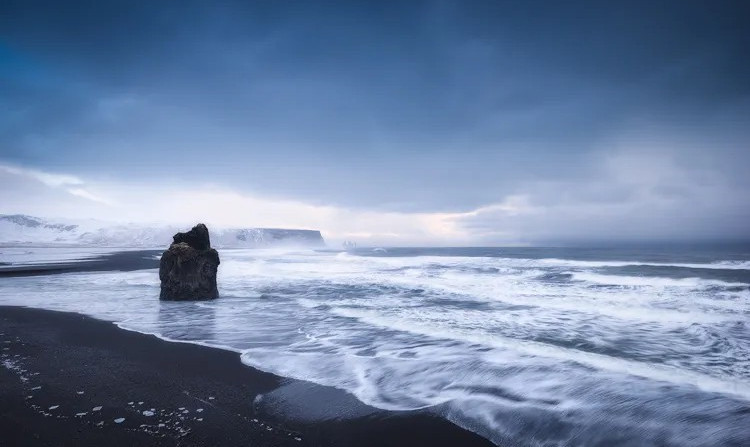
I’ve visited Iceland in the summer months at least a couple of times and can attest to its marvels. Yes, the harsh winter conditions can be difficult however, when the light is great, it’s breathtaking! Make sure you do the research prior to booking your tickets. The most unpleasant thing is to arrive and discover it’s dark and gloomy 24 hours all day.
5. Utilize an ND filter
I’ve covered the importance of timing your photoshoot to coincide with the low season, in the morning, the evening or even night time But what happens do you do if you’re unable visit at these dates? And, even more importantly, what is the chance that you’ll arrive and discover that the crowds are there? Do you want to quit and go to your home? No! It’s possible to find an answer so don’t fret.
If you’re in a crowded area and you are eager to take your picture you can try the neutral density filter. This useful little device won’t cost much and can be affixed to an aperture’s front.
I’m not going into all the technicalities however, the filter blocks a portion sunlight from reaching the sensor of your camera, which implies that you’ll need the longer timer for a perfect exposure. A higher shutter speed can blur all moving objects in your shot, so should you take a picture of a busy road or a beach with a lot of people You can get rid of all the people!
Simply set the shutter speed to just a few minutes and you’ll have a gorgeous, crystal clear image free of distracting elements.
If you’re concerned about camera shake Don’t be. Be sure to bring an solid tripod with you and you’ll be right.
6. Stack multiple images
Combining several images is a effective technique that will help you eliminate the crowds out of your landscape photography. It is a good idea to capture multiple photos of the same scene, with people moving through and out. Then you blend them together to eliminate everyone. It’s a little more complex than an ND filter however, using software such as Adobe Photoshop it’s simple to master.
Here’s how step-by-step:
- Create a sequence of images from the same location. It is recommended using a tripod in order to ensure that the frame is constant across all images. Try to take about 20-25 photos with a gap of about twenty seconds in between every. This will allow anyone within your frame to reposition themselves between shots.
- Transfer your images to your computer.
- Open Photoshop and click File>Scripts>Statistics.
- Select Median as your Stack Mode in the dialog box that pops up then, and tick the box to an attempt to automatically align Original Images.
- While Photoshop is working go ahead and relax! Take a look at some funny videos on YouTube and grab a cup of coffee, or take a break for a while.
- After Photoshop is done working on the image, you can zoom into 100% and then look for areas where the program was unable to complete an excellent job. If you discover spots, you can employ the tool for removing spots carefully treat the regions.
This method is extremely effective in removing undesirable people out of your photos. Based on my experience, the program works on the majority of images as well as the 1% that aren’t however, it does a fairly good job.
If you’re sick of pictures that are crowded and don’t really capture the beauty of your landscape well Try image stacking. Give it an attempt! It’s an easy but powerful method to elevate your photos to a new level.
Photography at popular landscape spots Final words

Photographing in popular landscapes could be a difficult job however it doesn’t have to be. If you have proper mindset and strategy you can still capture amazing landscape photos even when you are in an area that is crowded with tourists.
Keep in mind that photography isn’t just about taking pictures of a moment, but also having fun with the experience. With these suggestions you will be able to avoid crowds and capture photographs that are not just stunning but also important. Enjoy photography!