
If you’re looking to improve the quality of your photography of the streets following the timeyou’ve clicked the shutter button you’ll definitely be looking for the top Lightroom street photographer presets. In the end, it’s not a problem to capture the moment that you’ll never forget when you’re walking around using your camera, but it’s quite another to edit each photo so the final images appear exactly as you imagined.
A lot of times, that extra bit of glam or clarity comes from the most-loved Lightroom preset. Presets allow us to alter the style and appearance of our photographs so that other users are able to understand what we thought about the images while we shot them.
The Lightroom presets are very popular and there’s many choices to pick from. No matter if you’re starting from scratch or have some experience using presets before picking the best one isn’t easy. We’ve created the top presets that will assist you in turning your street photography photos in RAW into images that have personality and depth – as long as you use the presets correctly.
I’ve put together a selection of presets available to download (for no cost) and then import into Lightroom. I’ve also made use of a few pre-packaged presets that are an integral part of the Lightroom subscription. So, you can observe how it’s easy to enhance your street photography in a single click.
Without further delay now, let’s look at the top street photography presets of 2023!
1. Classic Classic B&W Presets
In the Develop module of Lightroom there are wonderful black and white presets that you can apply to street photos. After selecting a picture to edit, search for the Classic and Classic B&W Presetssection within the Presetsdropdown menu.
There are a number of black-and-white presets. the one that is most effective depends on the specific photograph. I suggest checking each preset as you examine the shadows and highlights of your photo. Check out what you like and don’t be scared to alter the editing sliders once you’ve chosen one of the presets.
Here’s the original image I used:
I decided to apply this preset. B&W Look 5 preset. Here’s the final result:
I love the way it affects the street scene that has an ethereal house. Though I feel that the colors of this photo are a good match I was interested in playing using a monochrome effect and I like the way B&W Look 5 manages the highlights and shadows while focusing on the woman’s face.
2. Cross Process
The cross-process look is classic. Film is a material that it is essential to ensure that it’s processed using the proper chemicals. If you’re looking to achieve extraordinary results, you could use color negative film chemical solutions for color transparency films (or in reverse).
Results from cross-processing can be uncertain and vary depending on the film type. When you apply cross-processing to a Lightroom preset, you can be sure that you’ll see some stunning color shifts! To see the cross-process options in Lightroom Go to the Preset panel and choose Classic Color Presets. There should be 3 cross-processes: Cross Process 1, Cross Process 2, and Cross Process 3.
Below I’ve put the cross-processed presets for cross-processing to the test. Here’s the original image I used:

Here’s a picture I took after applying a cross-processing preset:
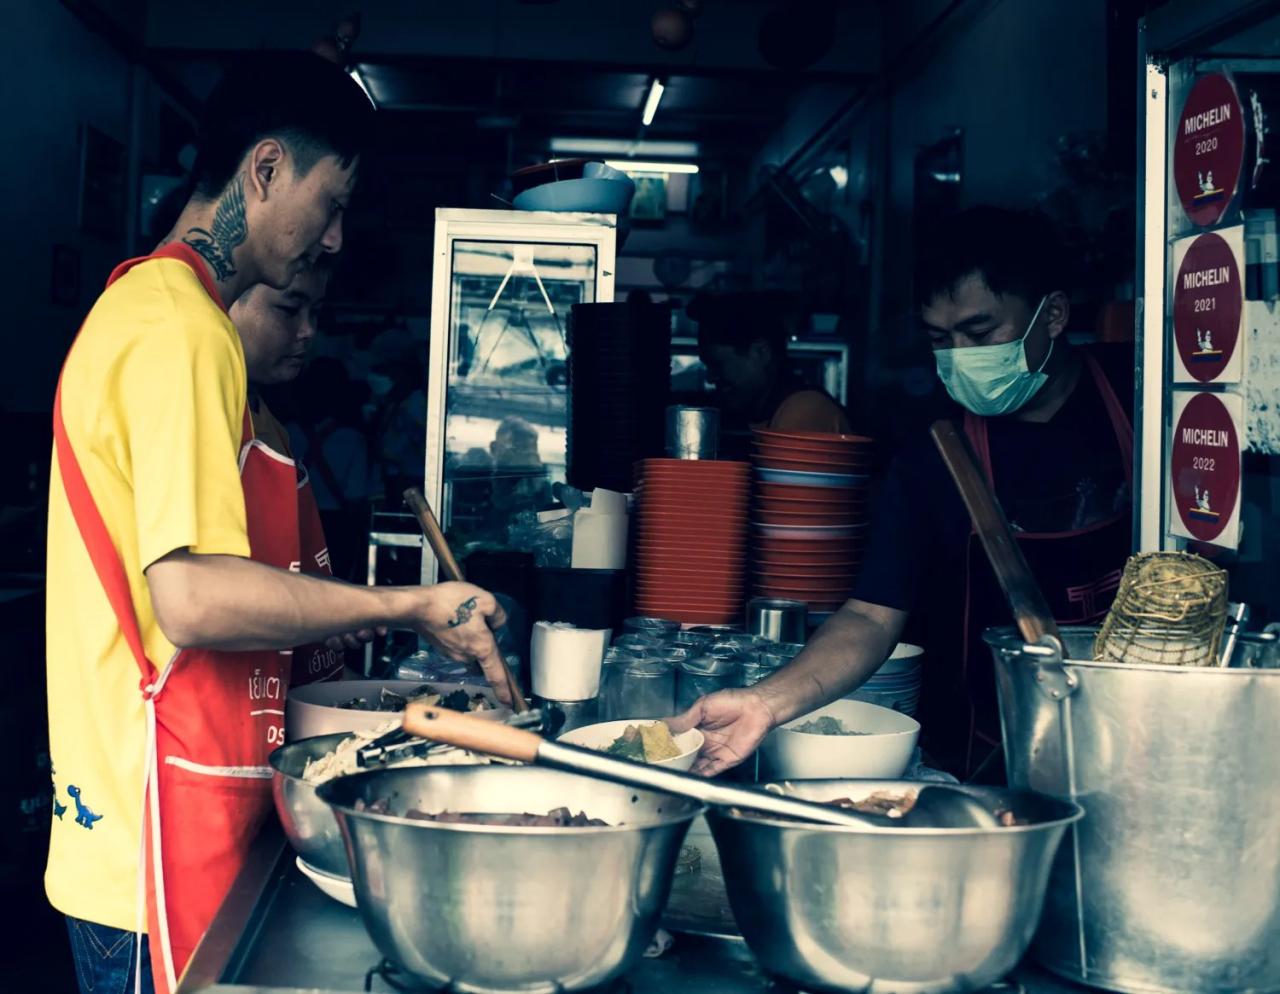
I love the color adjustments The bright reds and bright yellows are tempered. I also like the way this preset portrayed to the steel. You should note that I adjusted the preset to increase the appeal of the shades.
3. Cool Shadows and warm Highlights
This Cool Shadows and Warm Highlights preset is a great choice for the majority of street photography. In fact, since it’s universally adaptable that you can use it to alter all sorts of street photos and give your group of photos a more cohesive appearance. (When you use the same presets it could give your photography portfolio an elegant look as well as feel.)
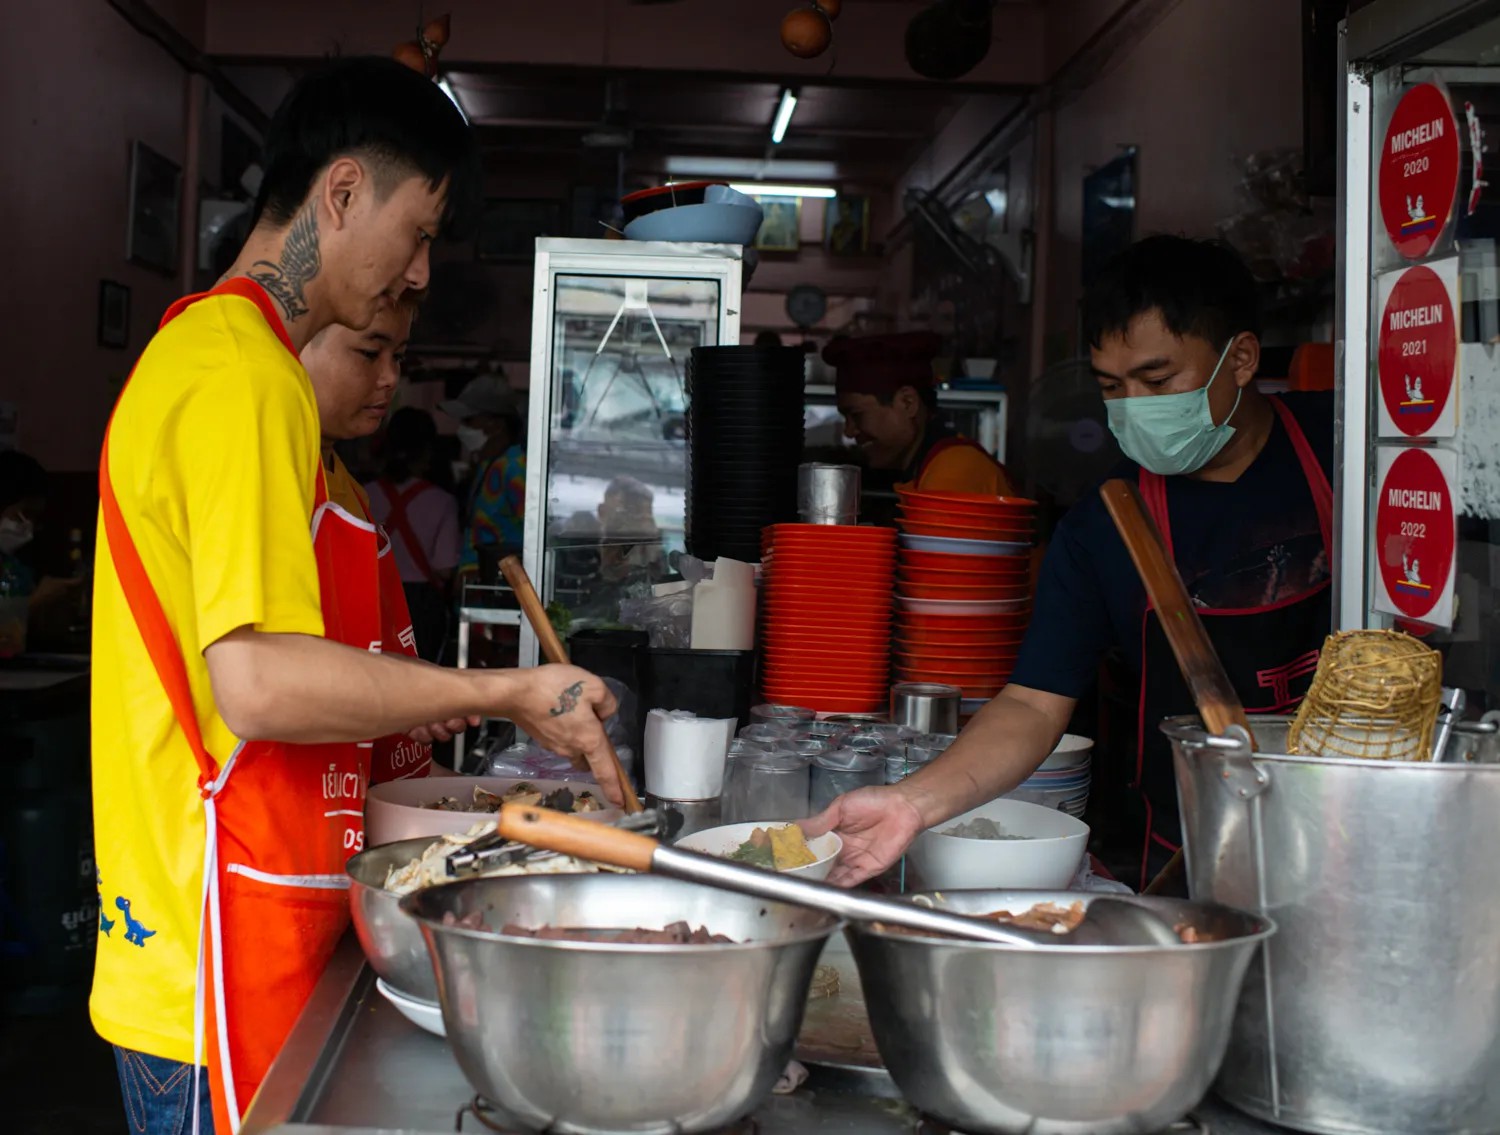
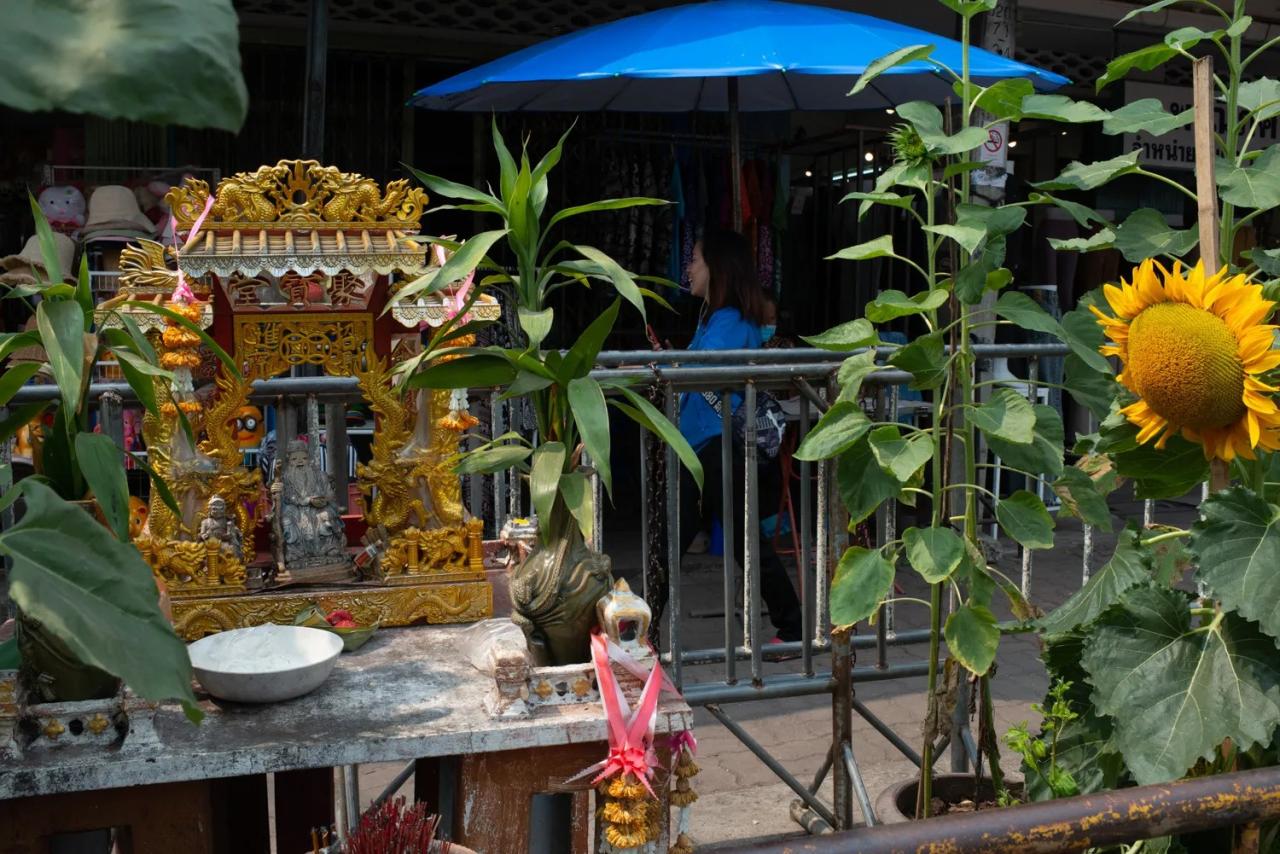
The preset can be found within the Lightroom Preset panel under the Creativetab. Here’s a sample (before) image:
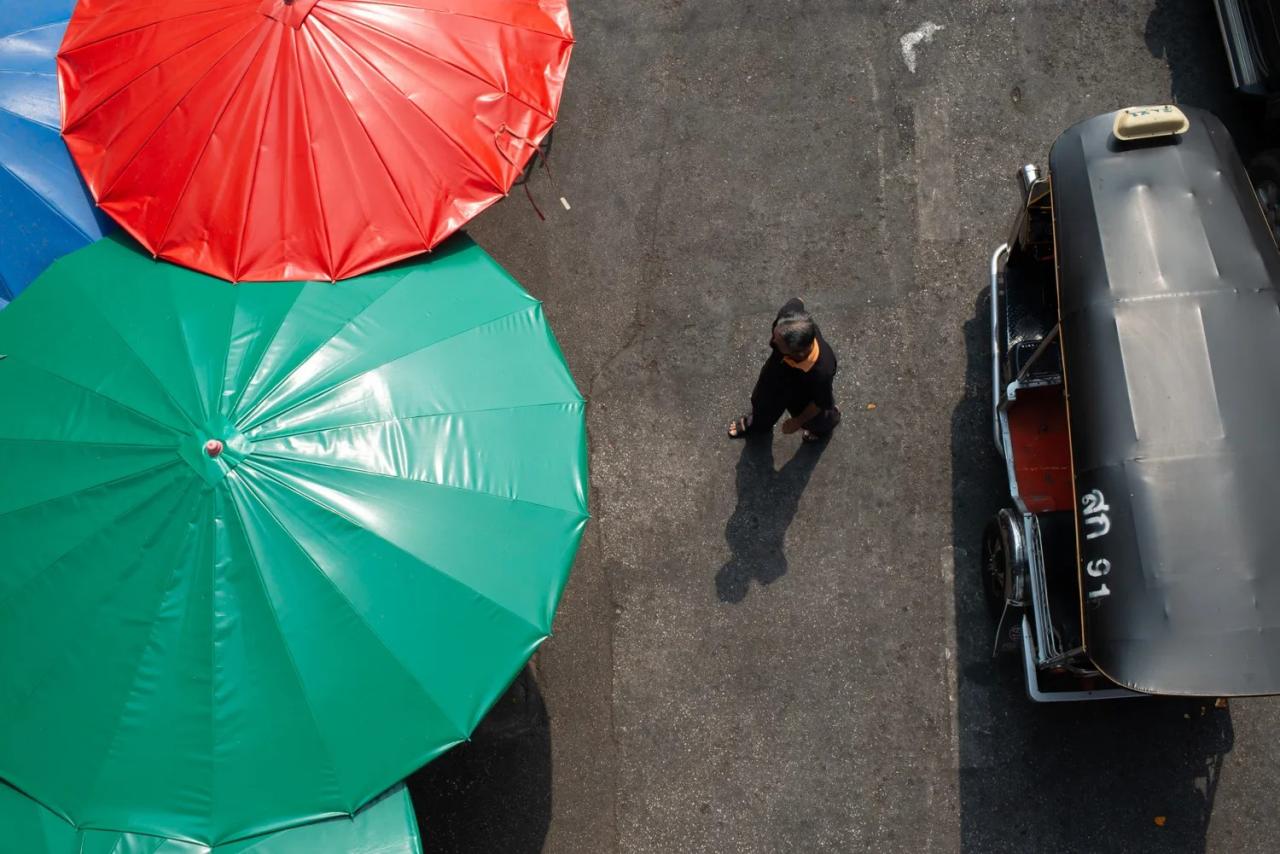
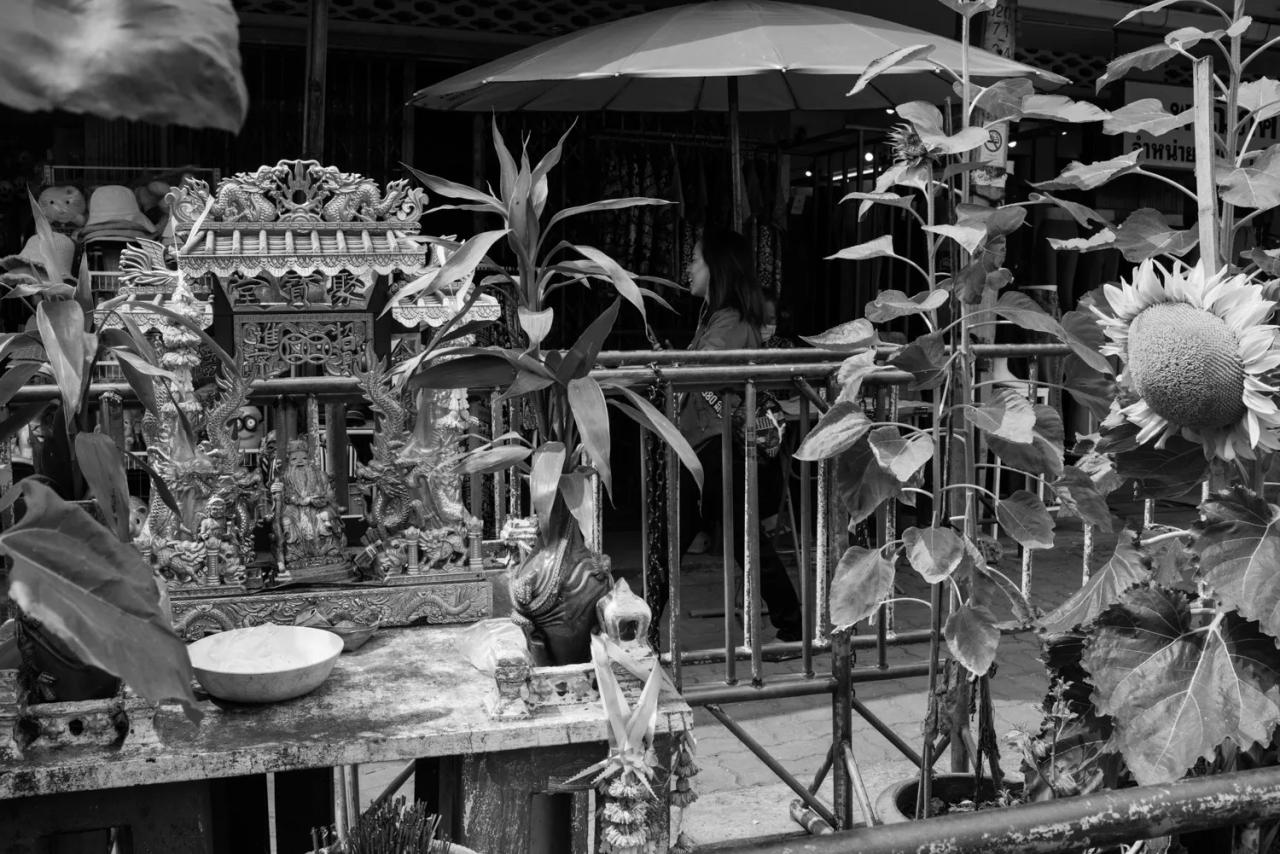
Here’s the final image when you apply this preset: Cool Shadows and Warm Highlights preset:
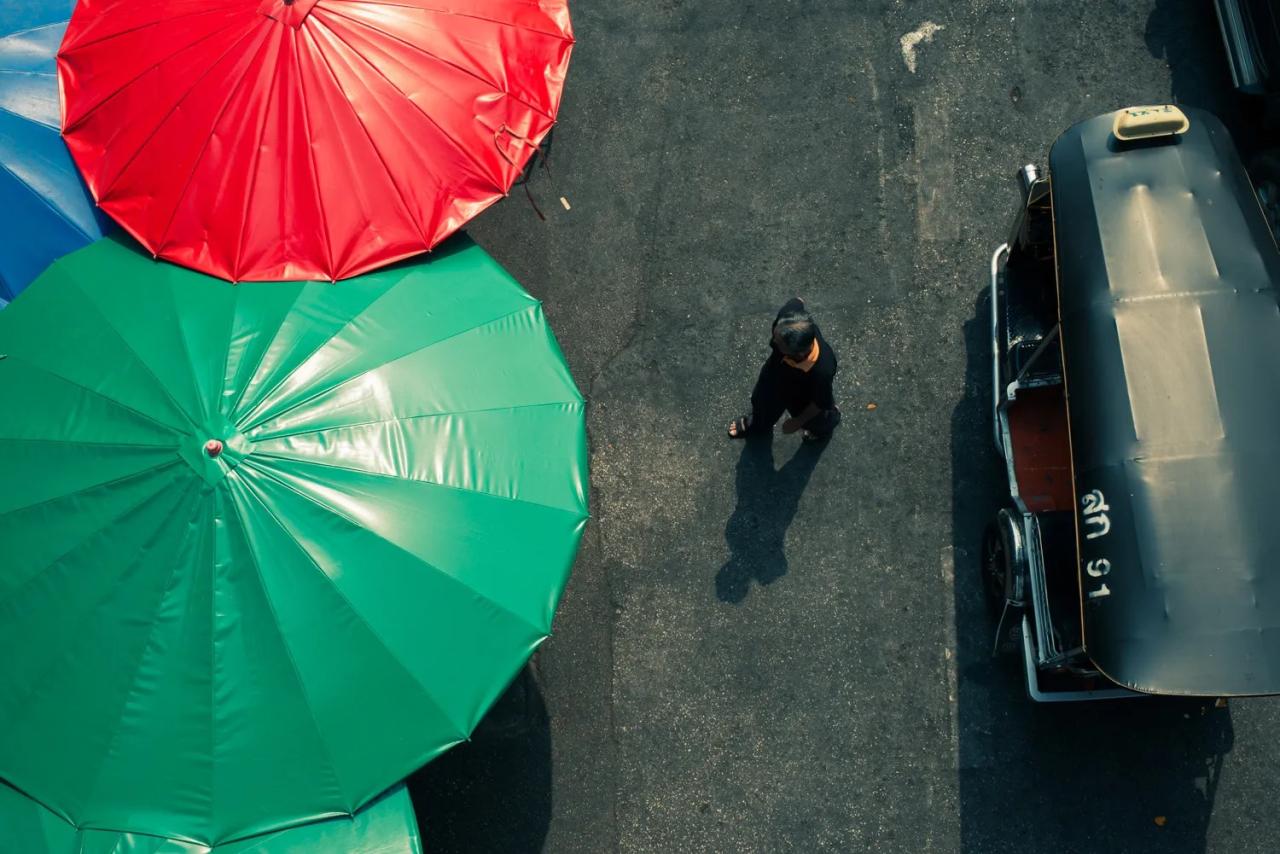
The presets helped make the shadows cool, and their blueish-green tones look great with the warmth of the highlights. The warmer highlights also are nice with the vivid green shade of the umbrella.
4. Vibrant
Certain Lightroom presets can give your photos of the street a sexy look, however the best ones tend be delicate. This is why I suggest trying Vibrant (in the color section in the Lightroom Preset panel) This adds a bit of pop to your photographs without going too far.
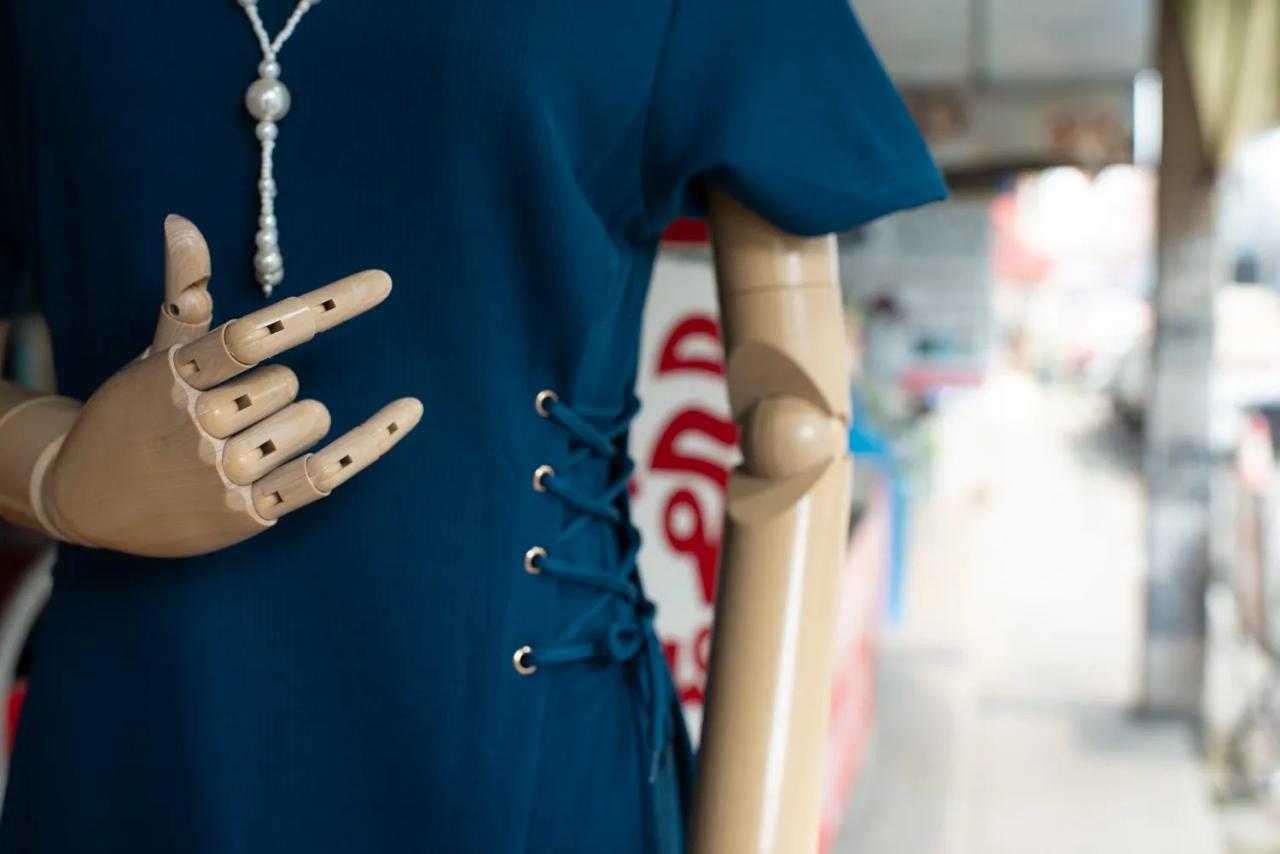
Look at this simple picture of a human being:
Then, check the results after the preset was applied:
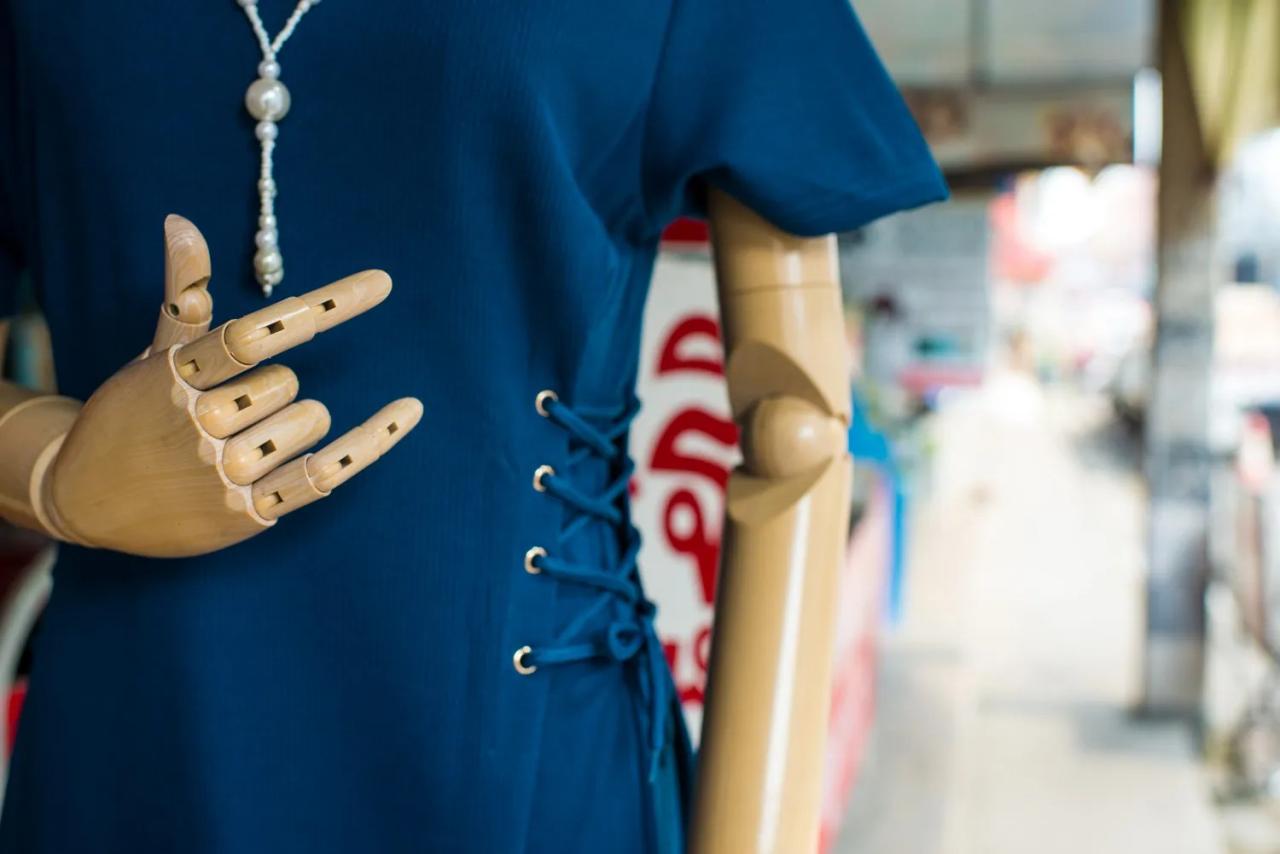
I really like the way that this preset boosted the color and lifted the shadows. It also helps balance tones in highlights areas.
I’ve seen a pattern in photo editing, where highlights are emphasized in both the highlight and shadow areas. Although this technique can bring out a lot of details, it also renders photos unnatural. It’s not a requirement to make use of highlights and shadows by using this method doesn’t notmean that you should practice it regularly. It’s similar to driving your car at a high speed everywhere you go. It’s likely to not end up working very well. Instead, you should try an elegant preset to keep the image appearing natural.
5. Cool Light
If your photo has a lot of brightness, you could be tempted by the preset which drastically alters the color and tone. My experience has taught me that it is not necessary. If an image already has drama it is possible to enhance it by applying a subtle editing.
I purposely exposed this photograph to highlight the highlights. I was able to see the lovely bright light that illuminated a portion of the scene. Also, I loved the deep shadows. So I set the exposure to highlight and was waiting. Within a few minutes an individual drove his bike onto the sidewalk and caught light.
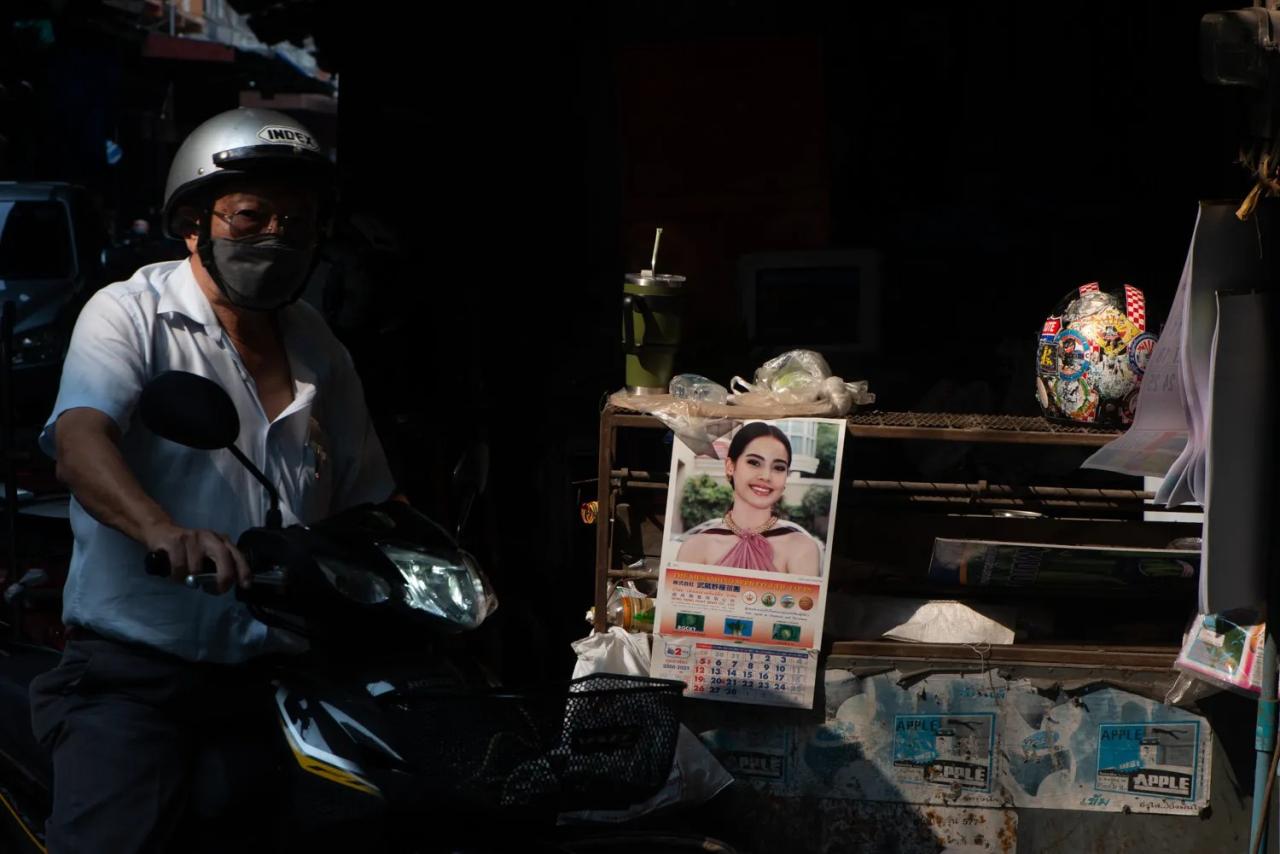
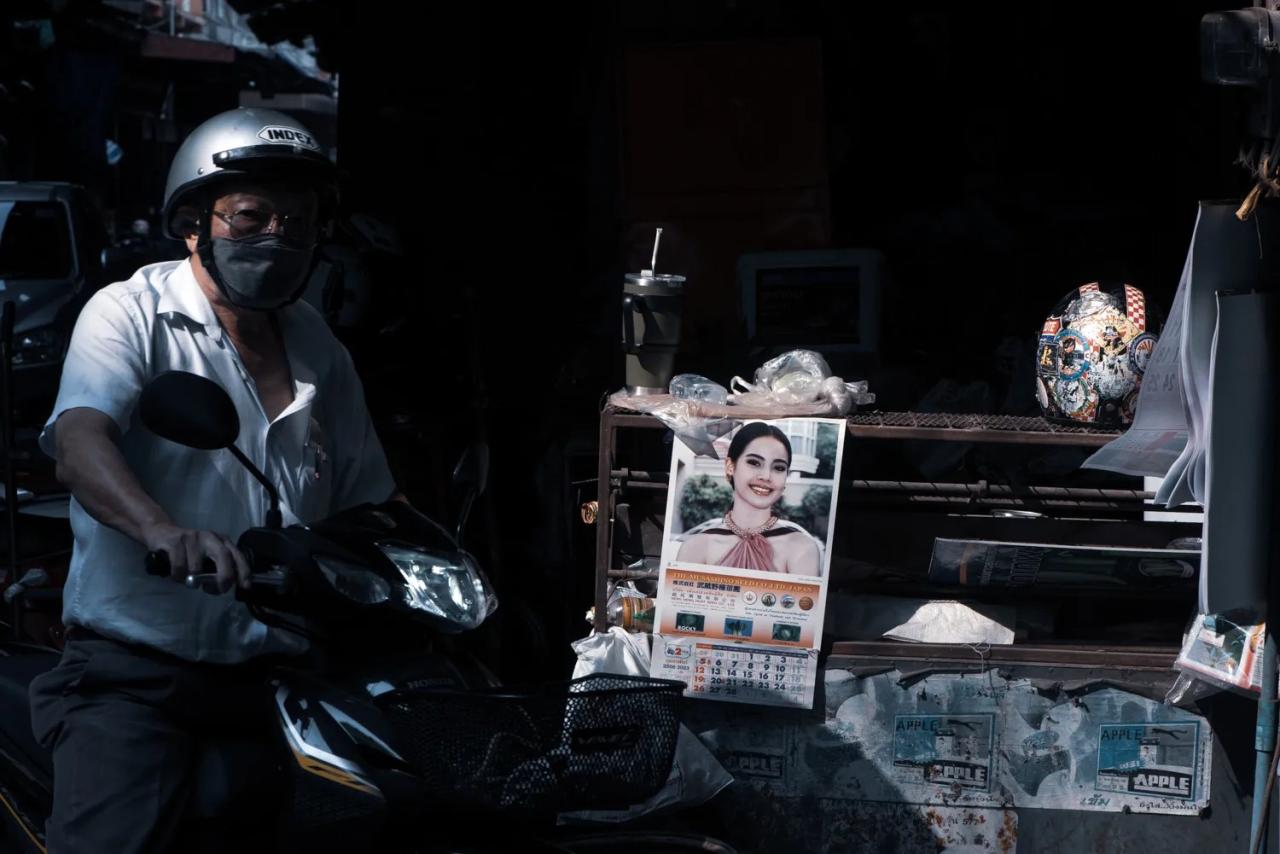
The original image is beautiful however I wanted to give the impression of a quieter feel to the image. This is why I used the Lightroom Cool Light preset (found in the Creative options) This raised both the highlights and shadows and added an icy blue hue to the whole image that brought the different elements together.
6. Retro Street Photography (by Weedit.Photos)
Sometimes, it is possible for your images to have a vintage look without using monochrome. The black and white look certainly adds an old-fashioned appearance to your photographs, however sometimes keeping the color as is can be a good idea, particularly with a vintage preset. An excellent option can be the Vintage Street Photography preset you can download from Weedit.Photos.
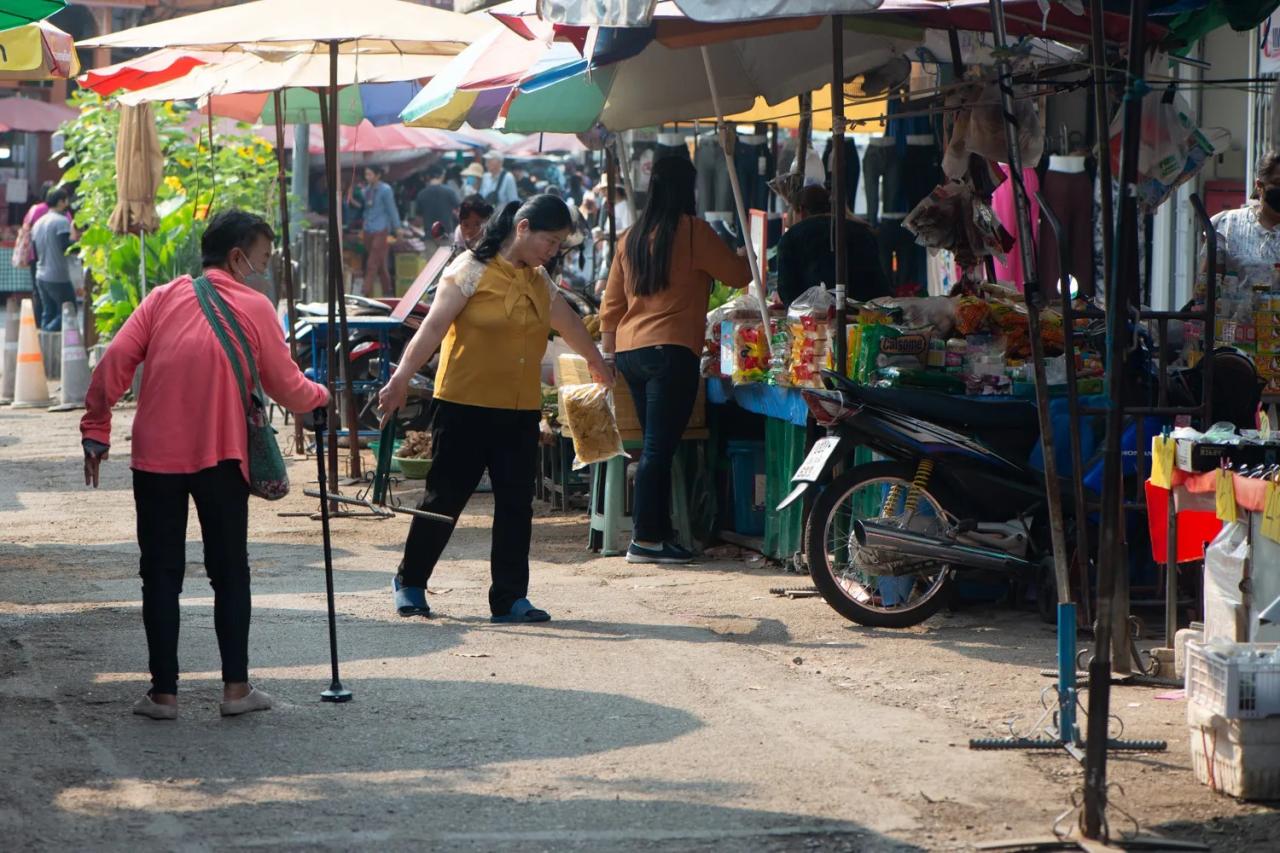
The original photo I took is intricate and vibrant:
The preset however makes it even more amazing:
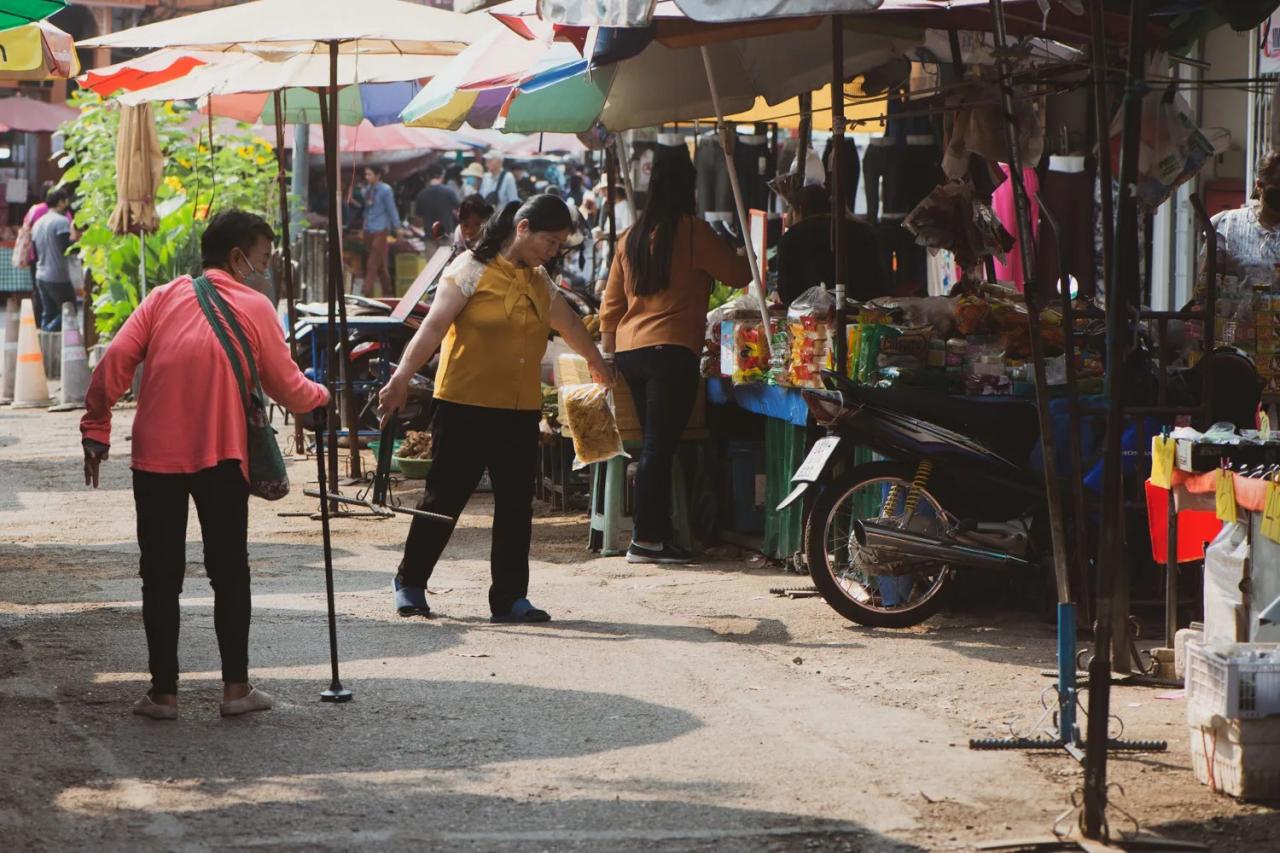
As you can see, the photo appears to have a distinct older appearance and feel. By reducing the color and reducing the shadows, this preset mimics the way that photographs appear when they’re older. (Colors and blacks are prone to diminish in contrast and fade especially if the image isn’t well-processed.)
I deliberately picked a picture that didn’t show any obvious technology, although the motorcycle could make the game more interesting.