

The Photoshop Twirl effect is a fun editing technique that transforms boring images into art. Although you may not have been aware of it I’m certain you’ve seen it in the news and it’s a favorite among Photoshop enthusiasts.
How do you get it to function, and how do use it on your photos? Here, I will explain the steps to make a swirl effect in Photoshop and provide a few tips and tricks to help you achieve the most effective outcomes!
Let’s begin.
What is the best way to make a swirl effect using Photoshop How to create a twirl effect in Photoshop: step-by-step
It’s incredibly easy to create the twirl effect even when you’ve got no editing expertise! Follow these steps and play around with every filter until you achieve the desired result.
Step 1: Click and open your picture.
Begin by opening a picture within Photoshop. It doesn’t matter what image you choose to use, the twirl effect is able to apply it to almost any topic or composition. If you’re struggling to choose between several different images then why not test each one?
Step 2: Make another layer
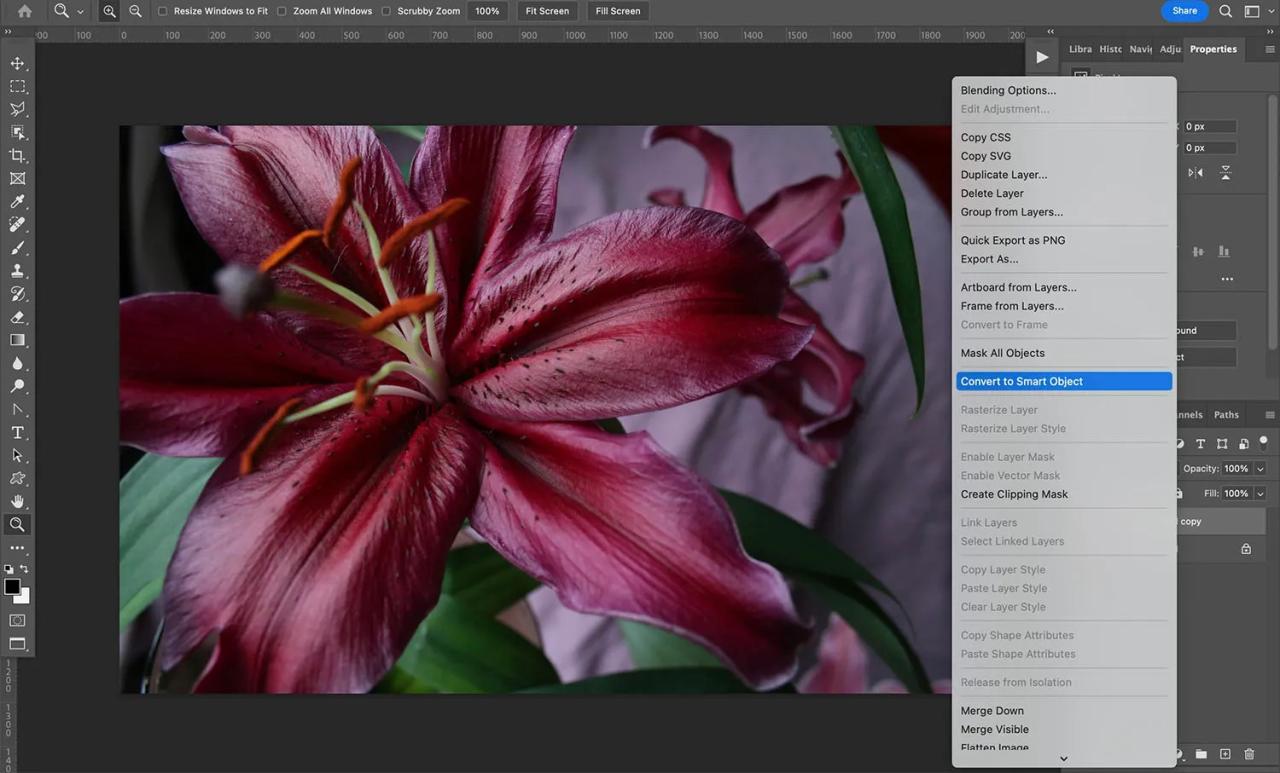
In the next step, you’ll need copy the background (i.e. the photo). Drag it over the plus icon in the lower right corner on the Layers panel or choose the Layer and then Duplicate Layer optionin the Menu.
Then, convert the layer you created to an smart Object. The layer can be right-clicked and select the option to convert it into a Smart Object, or you can select the Filter option and then Convert for smart filters..
So, you can return on every filter in the future and make any adjustments without having to begin from scratch.
Step 3: Add a Mezzotint filter
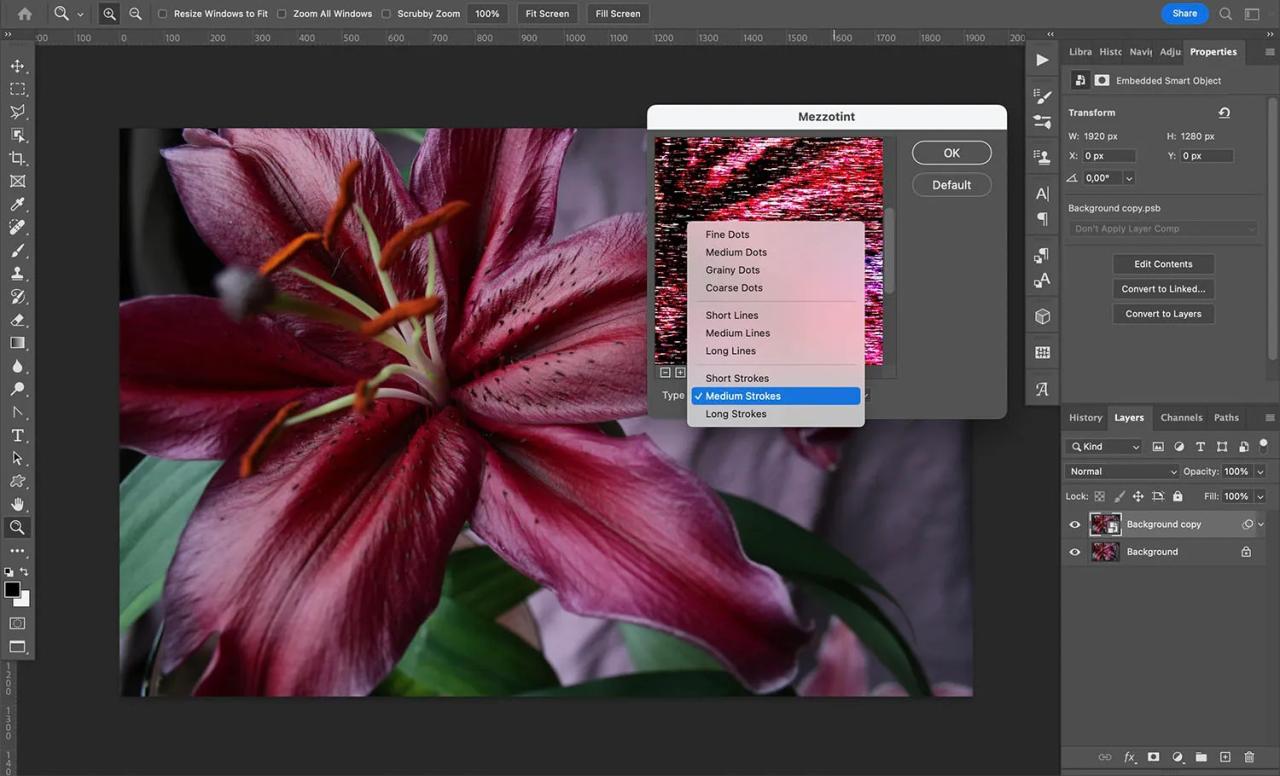
To achieve the twirl effect for the swirl effect Photoshop To create the twirl effect in Photoshop, you must apply a set of filters on your image. The first is Mezzotint.
In the main menu, choose Filters>Pixelate>Mezzotint. This will display a dialog box. Under the preview window, you can access the Type menu and choose the type you prefer.
Now, picking between different kinds of spinners will not be a good idea unless you’ve already done the twirl technique before. Don’t fret too much about the twirl effect. You can always come back to change it after you’ve applied the next filter because you converted the layer to the Smart Object.
In this instance I’m using Medium Strokes style However, don’t believe that you must follow the same procedure.
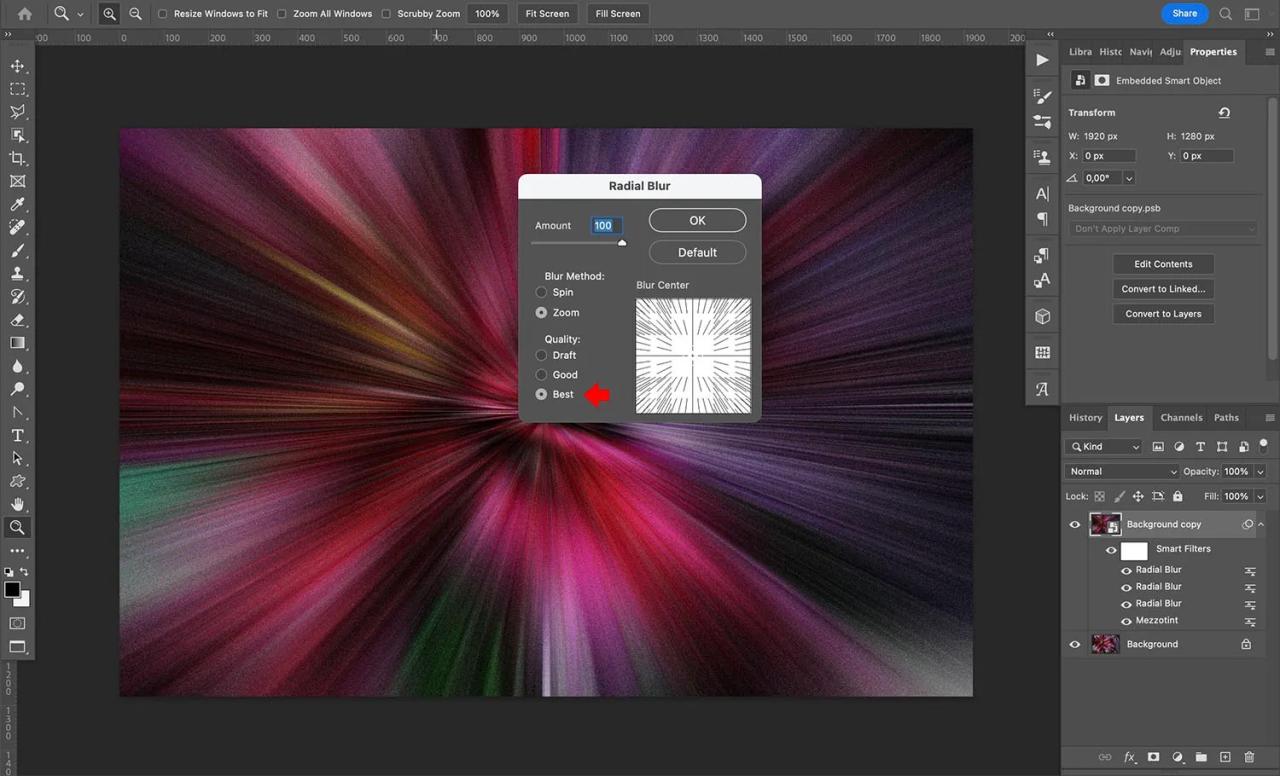
Step 4 Apply the Radial Blur filter.
The next filter to apply is the Radial Blur to apply it, so go to the menu and choose the Filters tab, then Blur>Radial Blur.
Within the dialogue box, choose in the dialog box, set Blur Method to Zoom. For the Quality option: You can choose Draftto accelerate the process and you can also select Bestor Goodorif you don’t think the files are overly large. As of now it is still necessary to apply additional filters which is why it’s fine to save your value in Draft.
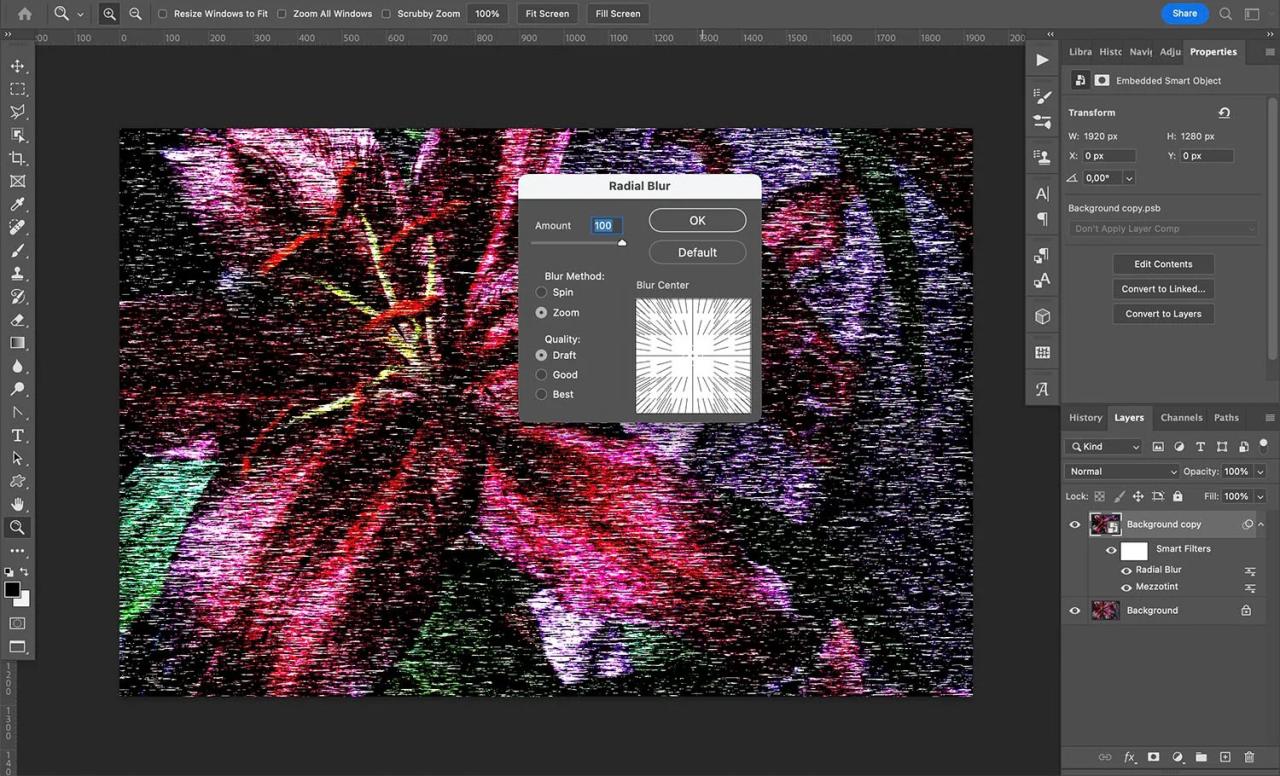
I’d recommend setting the amount up to 100. It is possible to come back to try different amounts to determine how they affect the final result.
Add then the Radial Blur filter again. When you launch the Filters menu, you’ll see the previous filter you’ve applied at the top of the list make sure you choose it:
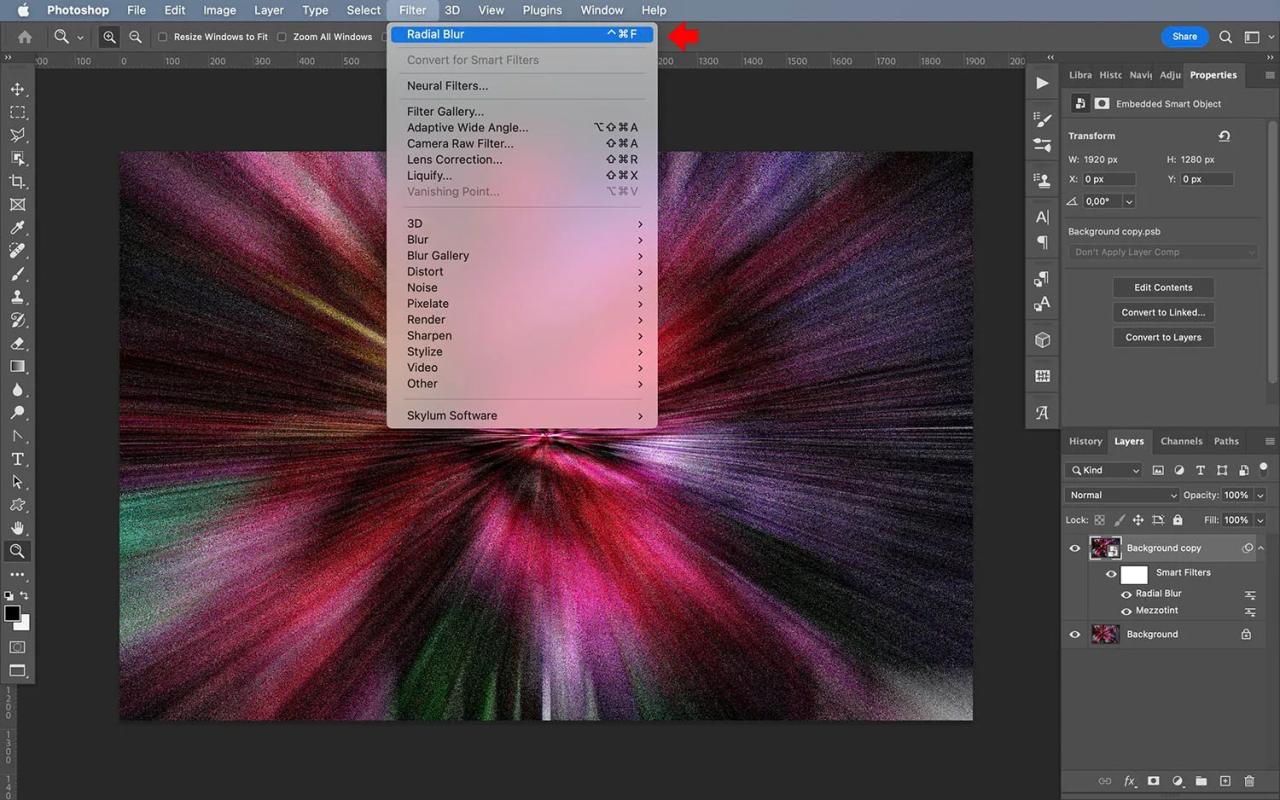
It is likely that the Radial Blur dialog box will be displayed once more and should have the same settings that were previously available. Just select “OK”.
Then apply the filter a second time, making sure that you set the Quality setting to the highest quality:
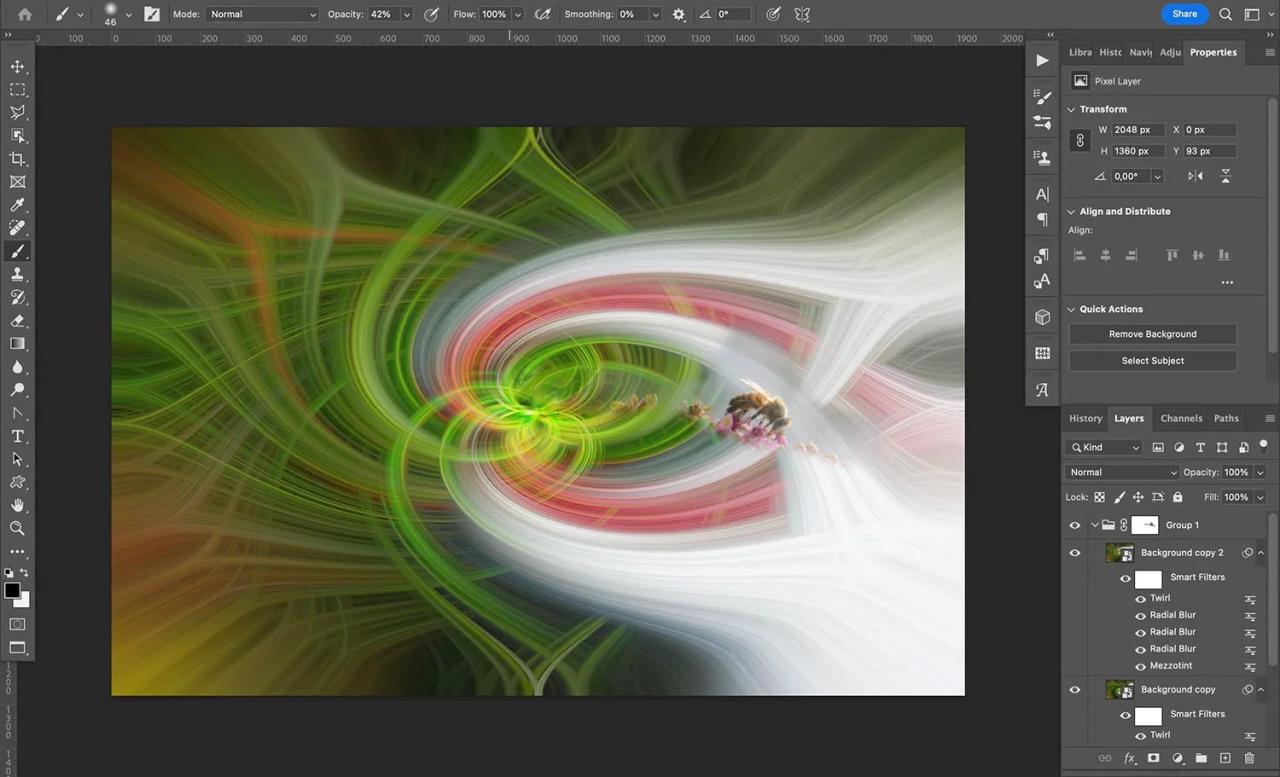
Step 5 Add the Twirl filter.
In this stage your image will appear to be abstract. This means that it’s time to begin the Twirling process! In the main menu, select Filter>Distort>Twirl.
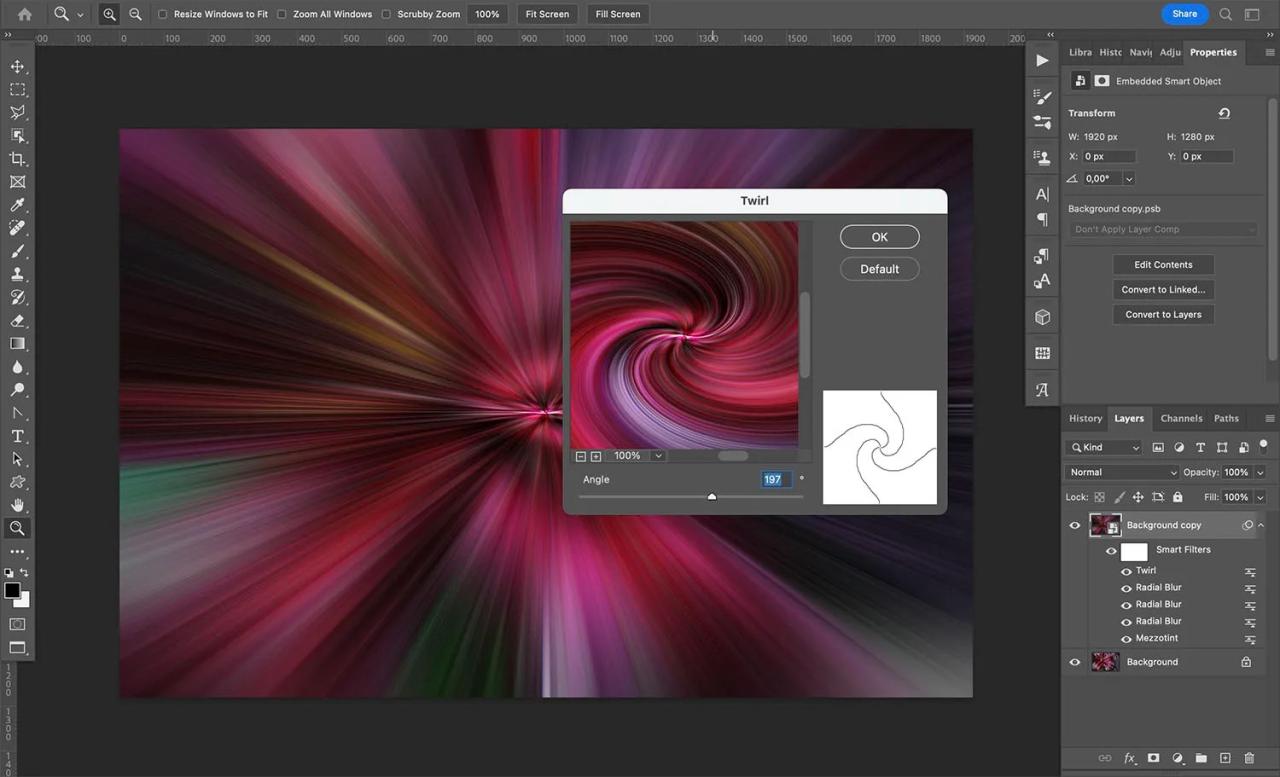
The dialog box will appear, increase the Angle slider to create the twist effect. There isn’t an ideal Angle value that will work for every image. Simply slide your slider till you are happy with the image you view in the preview, after which click “OK”.
You can duplicate your twirled layer by using the same method as described in the second step.
Step 6: Modify the duplicate layer.
Find your duplicate layer in the layer panel. Be aware it will include all Smart Filters you’ve used to date. Double-click this Twirl filter to open the dialog box:
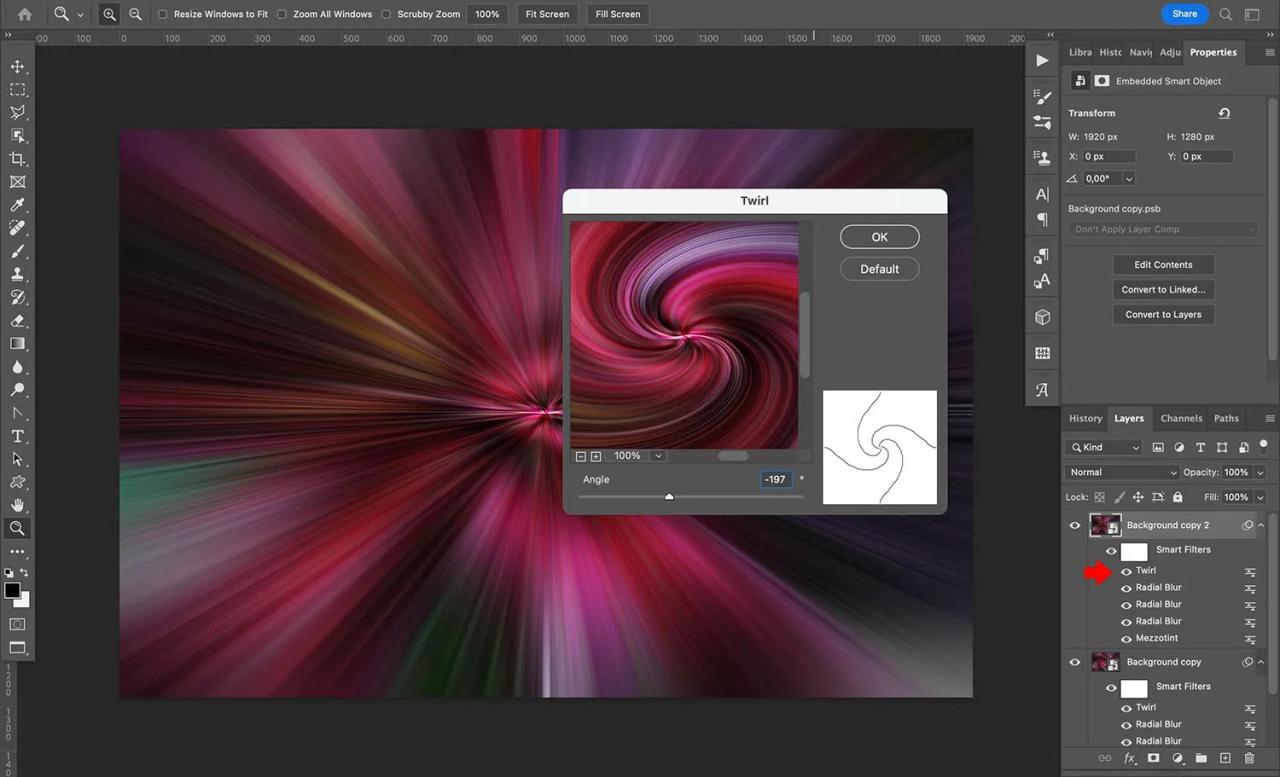
Move the Angle slider towards the left till you get to your negative number of that you picked. I started with an original value of 197. I’ll go with an angle value of -197.
(Pro trick: to swiftly turn the value around, simply enter the value into the box and then type an hyphen after that number.)
The twirl will now go in the opposite direction of the previous layer. Select “OK” and apply the twirl.
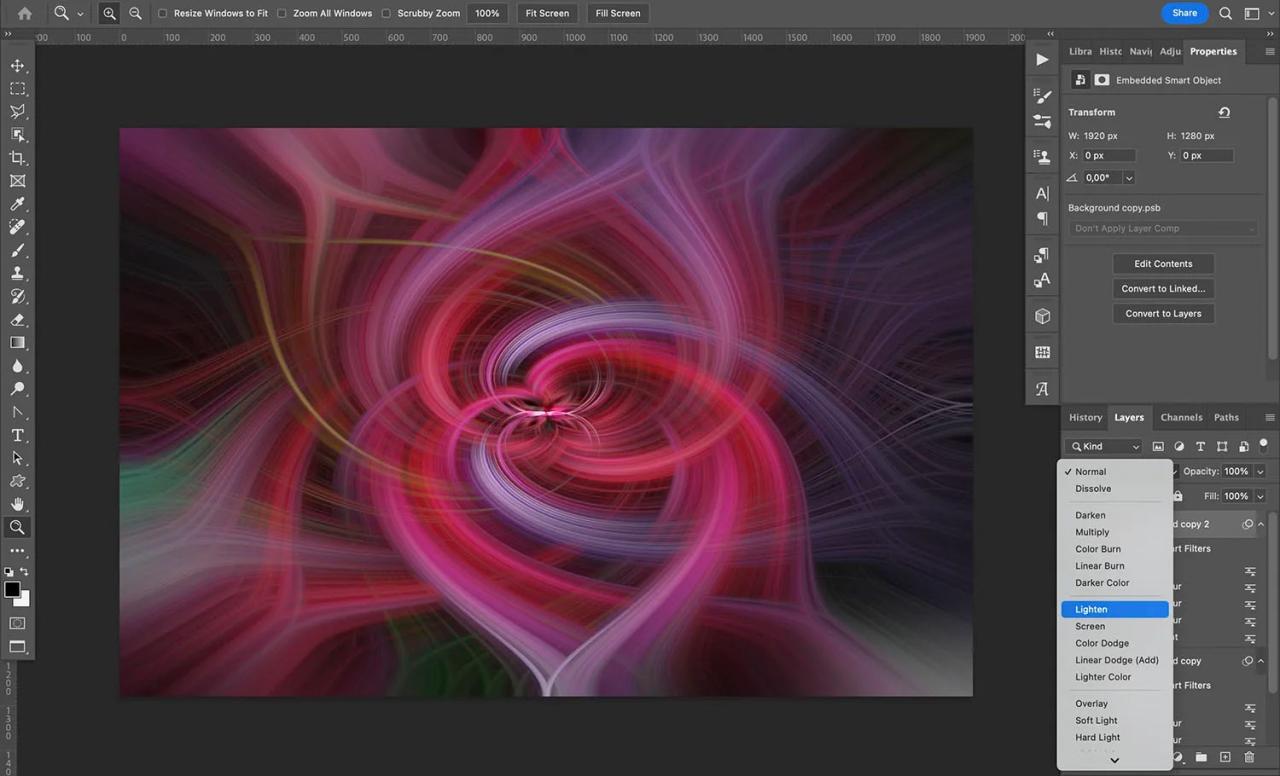
Step 7 Adjust the blend mode.
In this stage you should have two layers with opposite swirls. But, the top layer is blocking the layer beneath and both layers to work together.
Just open by opening the Blend Mode menu in the Layers panel, and then choose an option! It’s up to you to try various modes to create various effects (and when you’re using Photoshop CC, you can check the outcome by hovering over the various Blending options).
That’s it, the twirl effect you created in Photoshop is complete!
Tips and tricks for improving the twirl effect of your images
If you are able to create the perfect twirl effect consider these suggestions to enhance your workflow and improve your performance:
1. Create an action
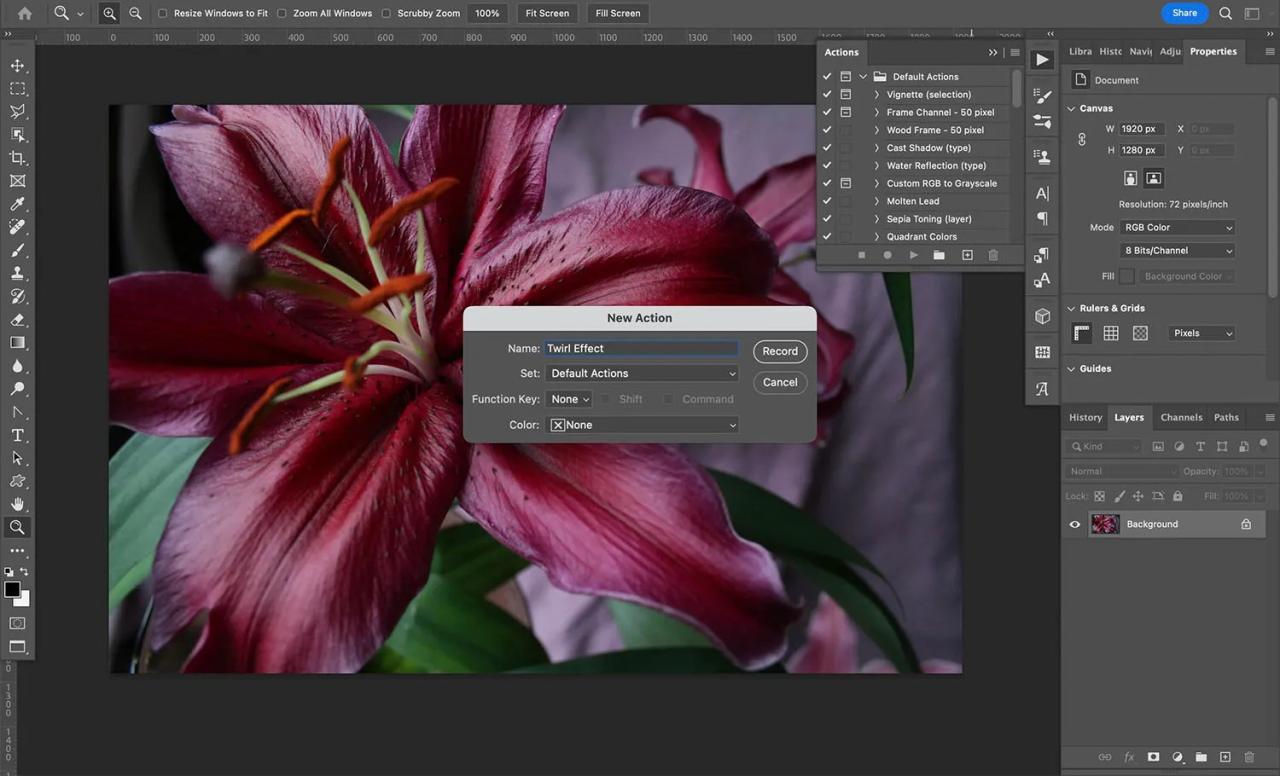
The twirl effect you can create using Photoshop is a breeze. But, it requires some steps. If you’d like to streamline your workflow and implement the look to every image it is possible to make an Action.
Begin in the beginning by opening up your photo that you would like to alter. After that, open the Actions panel. On the bottom you’ll see an Plussymbol which is an Action button. Action button.
Pick a name, and begin recording. Follow the steps in the previous post to make the twist effect. When you’re done then stop recording.
If you’re looking to apply the twirl effect an image, just play an Action then Photoshop will follow the steps.
2. Apply mirror effect
The swirl effect is lovely If you’d like to make it even morecreative it is possible to add this mirror effect to your photo. To achieve this, flip the image upside down and then place it on top of the original.

You can also create several different versions of the image each cropped and rotated and mix them all together. It’s up to the creativity of your imagination!
3. Make use of a mask to show a small portion of your original picture
Another innovative use of the twist effect? Combine the twirled image with parts of the original. It is necessary to apply an Layer mask to conceal and cover the different elements. Here’s how:
Create a new group using two layers with the effect of twirling. It is done through selecting your layers, then clicking the folder icon located at the top of the Panel for Layers.
Make sure that the Group is selected, and then click the Layer Mask button. The thumbnail will be blank. show up next to the folder. This is where anything you color using black is cloaked leaving visible anything below (on the background layer that was originally created).
Make use of using the Brush feature to draw black on the layer mask. Then, you can expose the original shot beneath. If you do make a mistake when painting, don’t fret You can switch to a white brush and then paint over the error.