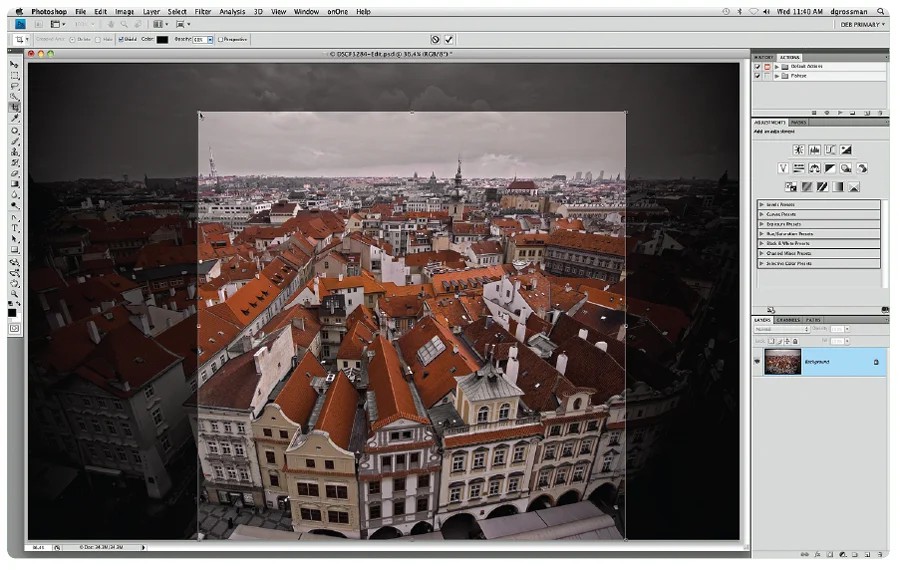
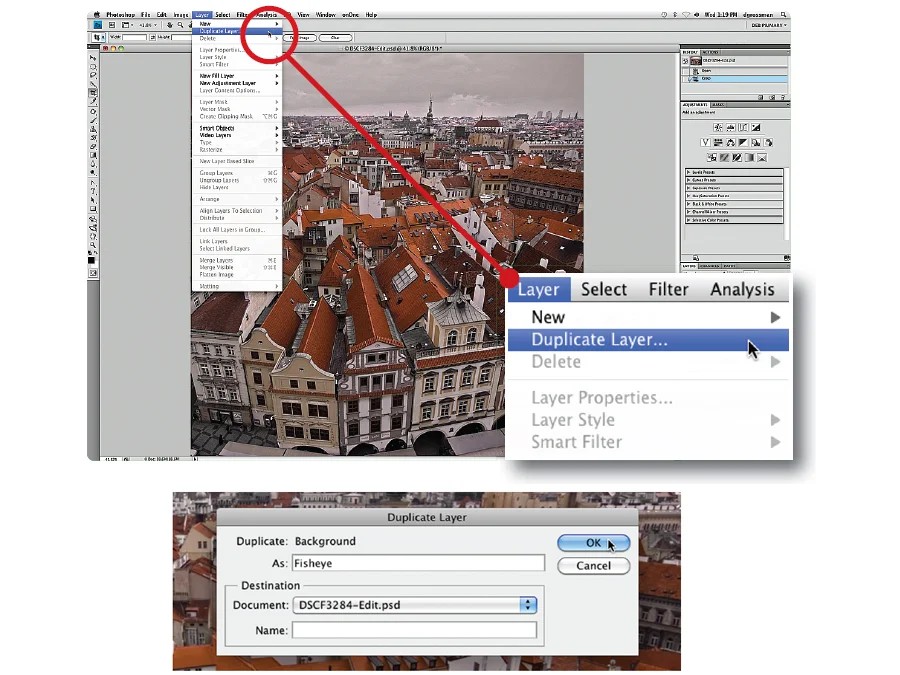
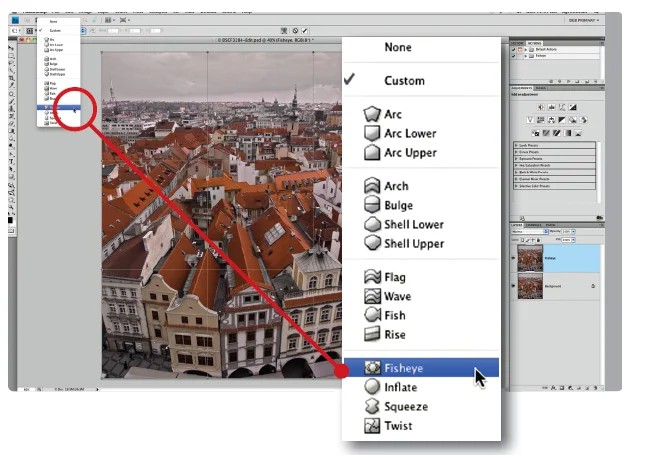
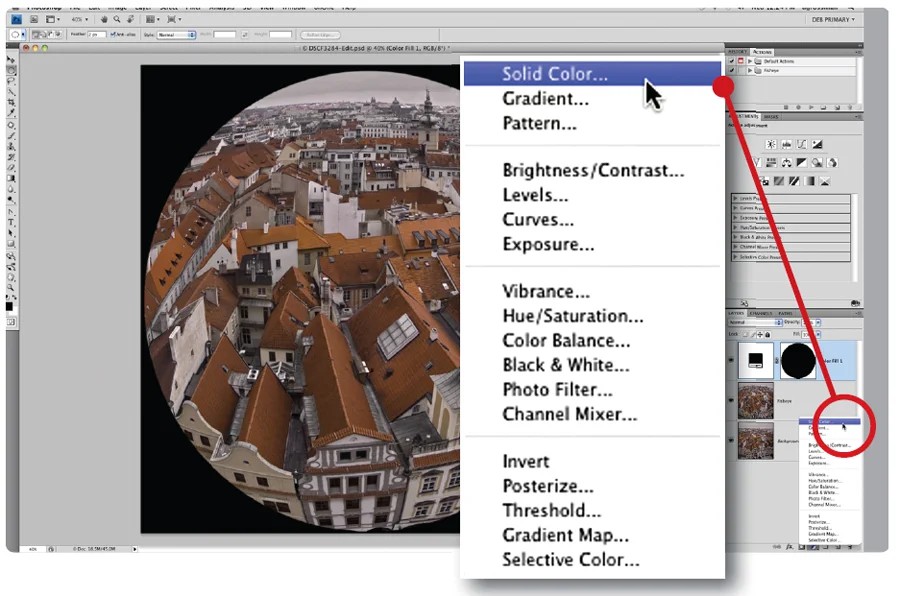
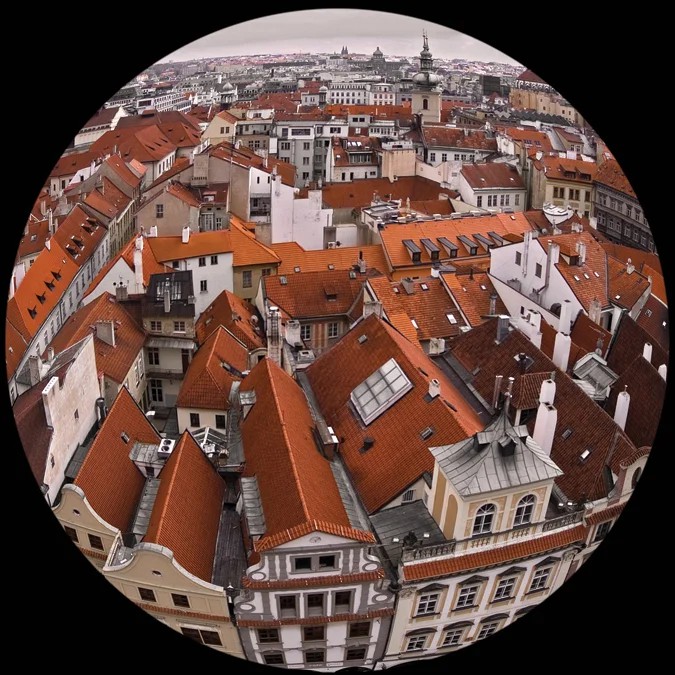
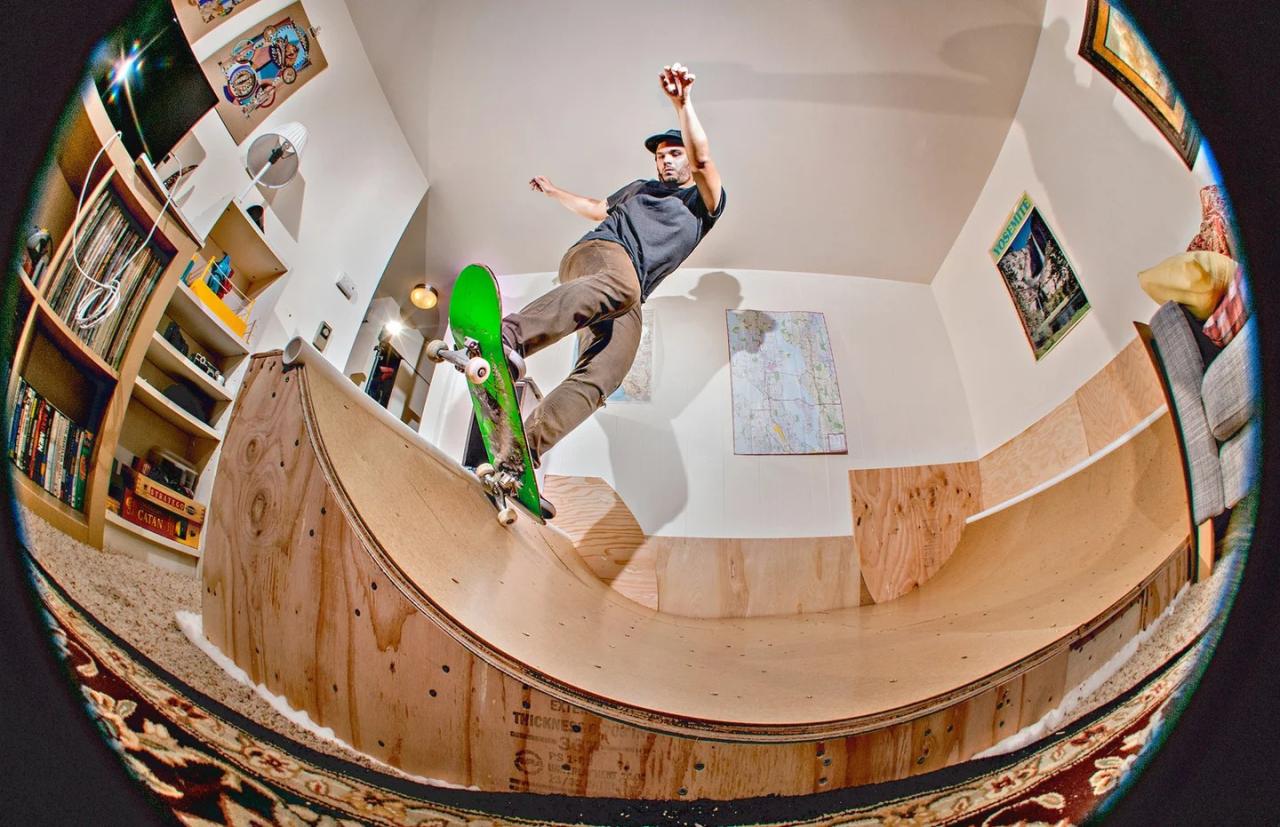
We often frequently use Adobe Photoshop often to correct photos–to fix white balance, enhance contrast, or eliminate elements that aren’t needed. However, sometimes it’s fun play around with the settings, taking the image to a completely new place. A simple and quick trick is to make a normal photograph appear as if it was taken with a circular fisheye lens with its distinctive shape as well as a black backdrop. To achieve this, you can employ this Warp tool, which was added in the version CS2. The method works best with photos with plenty of vertical and horizontal lines, which means that the distortion really pops.

1. Start by resizing your photo into an oval shape, making sure that the distortion that you’ll later add will appear more natural. You can access your Crop Tool by pressing C at your keyboard. Press the Shift key to ensure it’s the perfect square. Then, cut your image to create an elongated final result in the mind of. Important: While you crop be aware that you’ll lose some of the information from all four sides of the change to an eye-catching fisheye style.
Step 2. Because the Warp transformation isn’t able to apply to the Background Layer so you must create the duplicate. Click layer > duplicate layers. Name it Fisheye and Click Yes. Shortcut alert: An easy method of duplicateing background layers is by dragging it into the new Layer button on the Layers panel.
Step 3. The next step is to create some distortion on your image. Click the Edit tab, then Transform and Warp. Then, under the pulldown menu of the Options Bar, choose Warp: Fisheye. The default setting usually gives sufficient distortion, however, If you’d like to add more distortion then raise your Bend percentage. (With the real fisheye lens the closer you get to your object, the more distortion it gets.) If you are satisfied with the way it appears, press Enter when you type to continue your change. Note: A different way to boost Bend Bend can be to grasp the tiny square that is located in the middle on the top of the grid and pull it upwards.
Step 4. Once the distortion is done, we’ll now apply the dark circle. Use the Elliptical Marquee tool, and set it to a small amount of feathering. 2 pixels is enough. Place your cursor in the left-hand side of your image, just within the border. Use the Shift button and drag the cursor in a diagonal direction to form circles that fit within the photo. If the selection you have chosen isn’t the correct spot Use the Arrow keys to move it until it covers all of the essential elements of your image.
The final step Then reverse your selection by using Control (Command on the Mac) plus Shift and I from your keyboard. This will ensure that your selection is enclosed by the circle you’ve drawn. On your Adjustment Layer menu at the lower right corner of the Layers Panel select Solid Color. Choose black from the color picker, click OK to check out how your faux fisheye image looks. Note: When you make a selection, and you create a new Adjustment Layer Photoshop transforms it automatically into an image mask.