

Want to know the details of Photoshop’s Overlay Blend mode? You’re in the right spot.
Overlay is a fantastic way to give a the visual impact of images that are otherwise dull It can also be applied to create artistic effects, such as tints of colors. It’s a surprisingly flexible mix mode and it’s quite well-known, so it’s worth knowing what it’s about, how it functions and when you may consider using it in your editing of photos.
Below, we present an in-depth guide for this useful tool. Let’s get started!
What is the term “overlay blend mode”?
Photoshop along with other editing programs that use layers provide more than two dozen blending options, that determine how layers interact. The Overlay blend option belongs to the “Contrast” section of the menu for blending modes and will boost the intensity of blended layers.
Overlay is a combination of two blend modes: Multiply and Screen. When you apply Overlay to a layer Photoshop employs the Screen blending mode in order to deal with any tone brighter than 50 percent gray. Additionally, Photoshop utilizes the Multiply Blending mode to deal with any tone more dark than 50 percent gray.
In contrast to other Contrast blending modes, this one works depending on the brightness that the layer is in. Also, it doesn’t apply any specific procedure to the color base of the layer. Rather it screens or multiplies.
If the technical foundations for Overlay blend mode make you shiver, do not be concerned. It’s not a problem. Overlay effect is simple to comprehend on a visual level The effect creates darker tones and bright tones appear brighter. Consider the effects that occur when I select a normal assortment of grey tones (below the red line) Then, I make a duplicate of the picture, then apply the blend mode Overlay (above that lines of red):

The tones with the lightest hues (on the left) were even more light. And the darker shades (on on the right) were darker.
When should you apply Overlay Blend mode?
As I said earlier in the previous paragraph, it’s true that the Overlay blend option is actually a blend of two different blending modes that are Screen and Multiply. As such, it’s extremely flexible. It’s possible to use it in a variety of situations but there are some of the most popular:
- If you’d like to restore the brightness of an old faded photo
- If you’re looking to give a pop to a flat image
- When you wish to apply a color tint to a picture
- When working with particular composites (e.g. for example, when adding light to the sky)
- While using certain textures overlays
How to use the overlay blend mode
The process of using Overlay isn’t a huge challenge. Begin by opening the image in Photoshop and then adding an additional layer.
(Why is this important? Be aware that blending modes dictate to Photoshop what layers will interact. Change the blending modes of one layer won’t affect the image; rather for you to notice a change in your photo you’ll need to add an additional layer that will work with the primary.)
The type of layer that you include doesn’t matter. It could be an adjustment layer, a Intelligent Object or a different image or solid color, or an Adjustment Layer or any other.
Next, open the Layers panel located to the right of your screen. If you aren’t able to be able to see it, click the Window menu, then Layers or hit the key F7.
Choose the highest layer on the stack of layers. After that, open the blending mode menu using the downward arrow beside the current mode of blending:

Go to The Overlay mix mode. When using Photoshop CC, you can feel the effects of the blend mode on your image simply hovering your mouse over the. However, in Photoshop CS6, however, you won’t feel the effects until you’ve applied the effect to your photo.
That’s it! If you’d like to change the layer’s transparency using the slider on the Blend Mode menu.
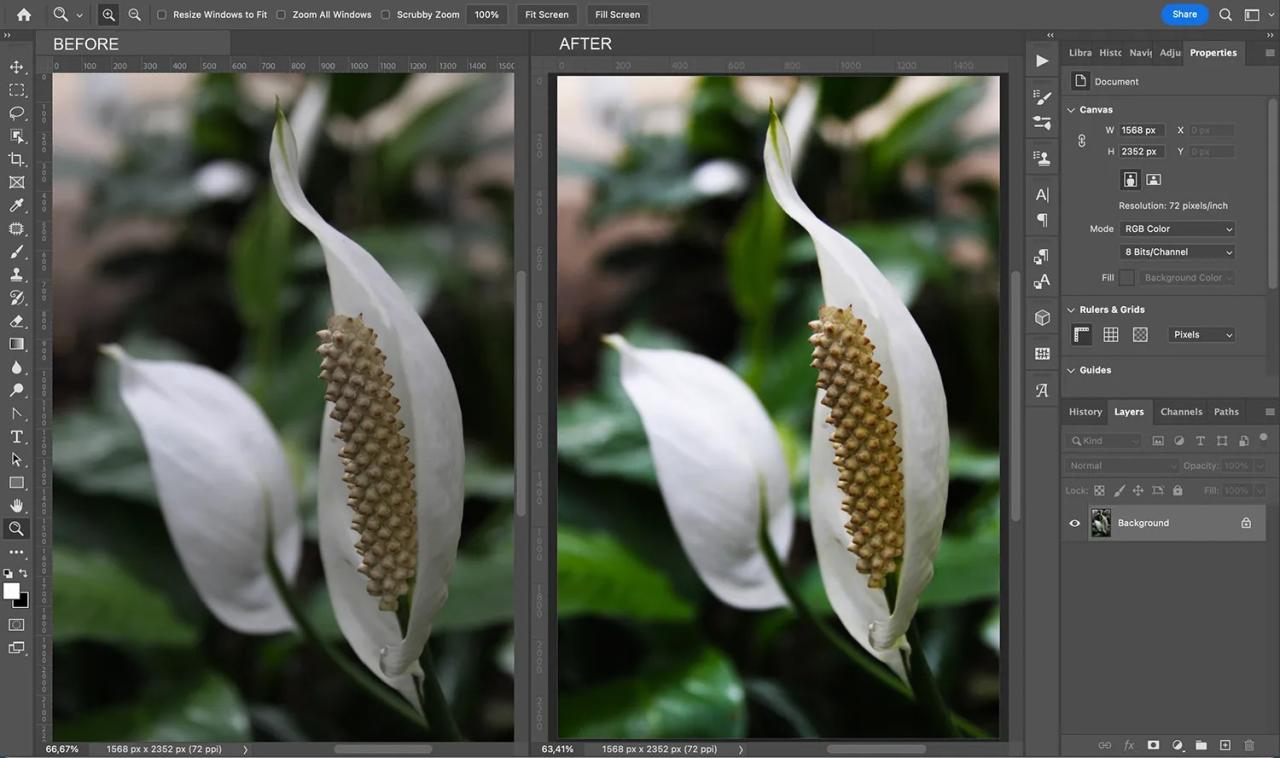
Overlay blend mode: A step-by-step example
As I said that one of the main reasons that retouchers and photographers use the Overlay Blending Mode is to increase contrast. That’s why I’m going illustrate in this case.
My sample image is slightly underexposed and lacks contrast 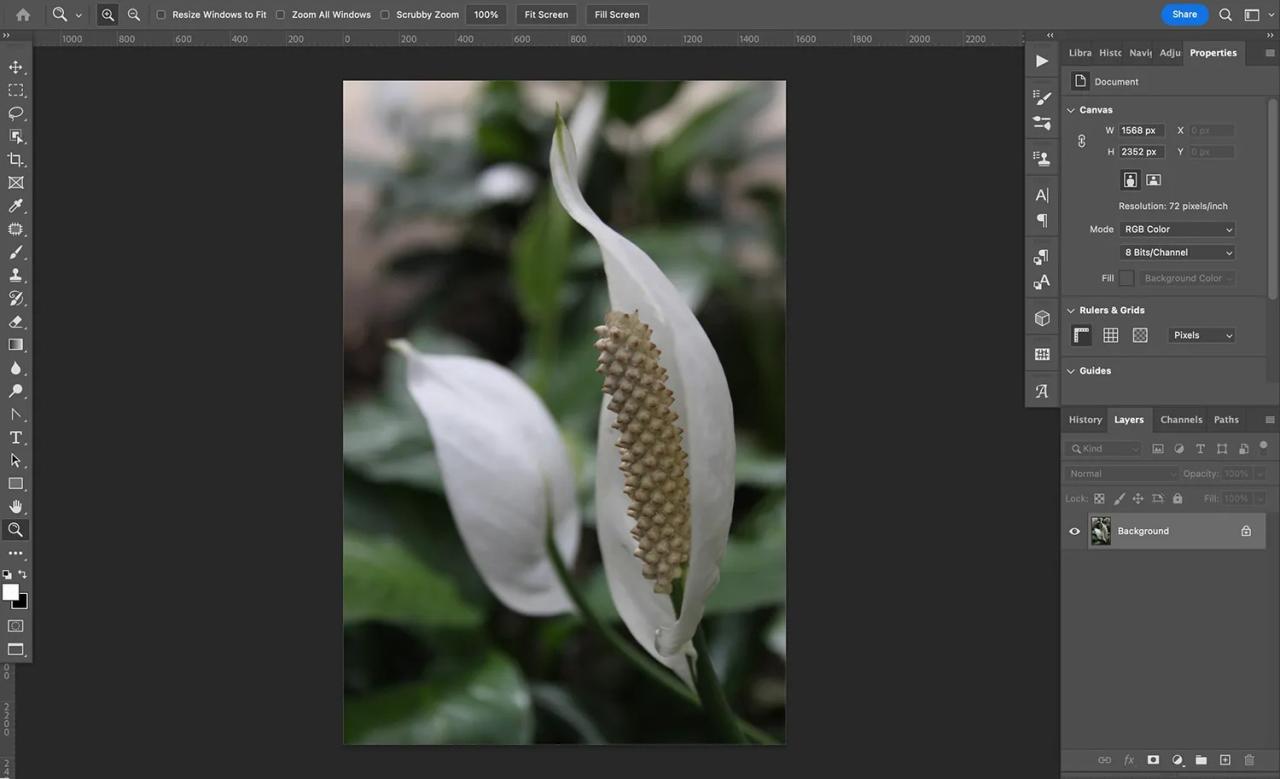
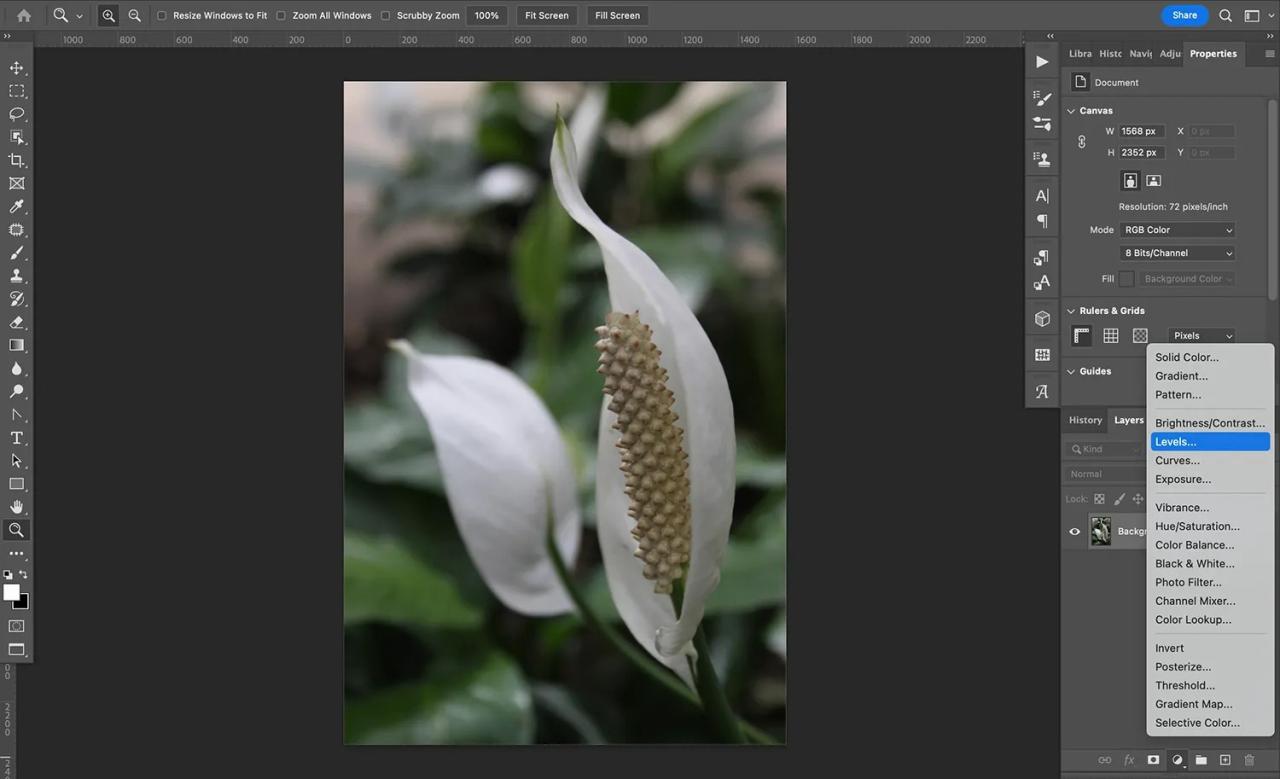
Therefore, I’ll click on the Create a new fill layer or Adjustment Layerbutton and then select the Levels. (Alternatively I can select Levels > New Adjustment Layer> Layerin the drop-down menu.)
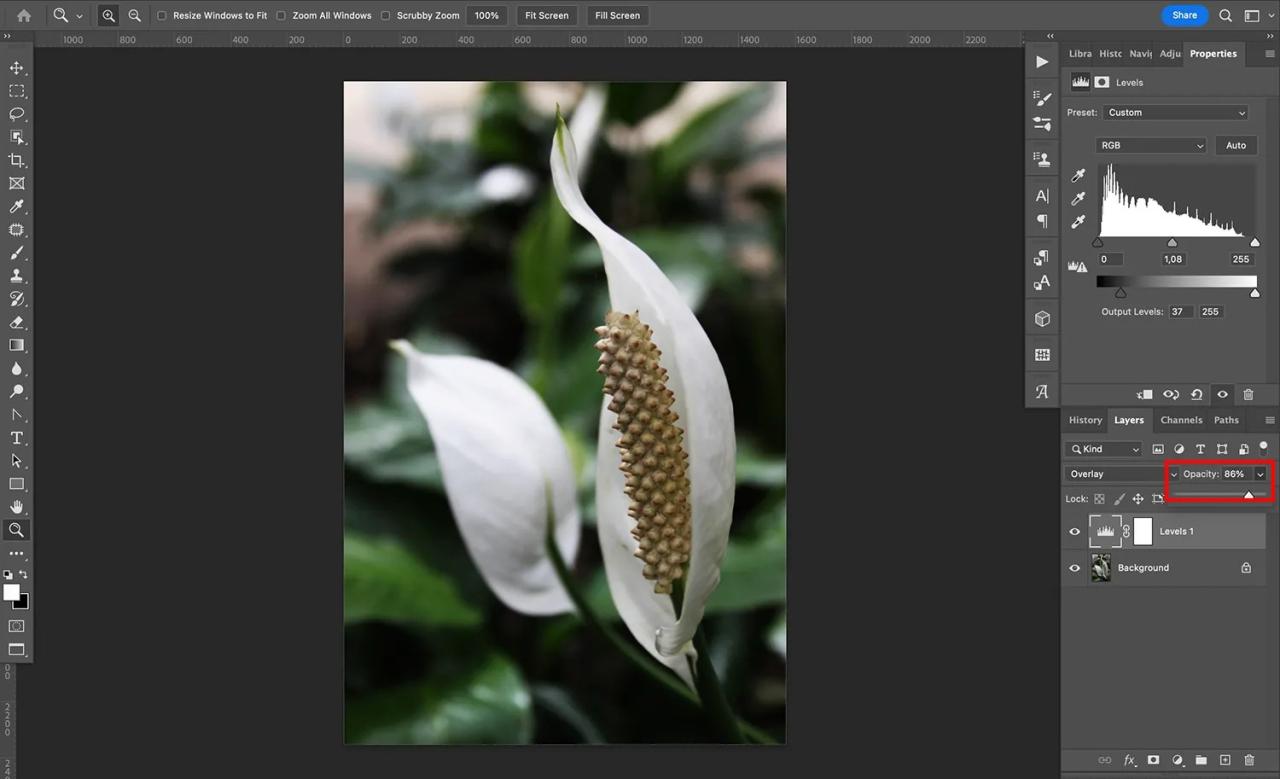
Without altering my levels adjustment I just switch the Blending mode to overlay and watch as the contrast gets increased:

If I’d like to change the look I can utilize the sliders Levels to adjust the midtones, highlights, and shadows:
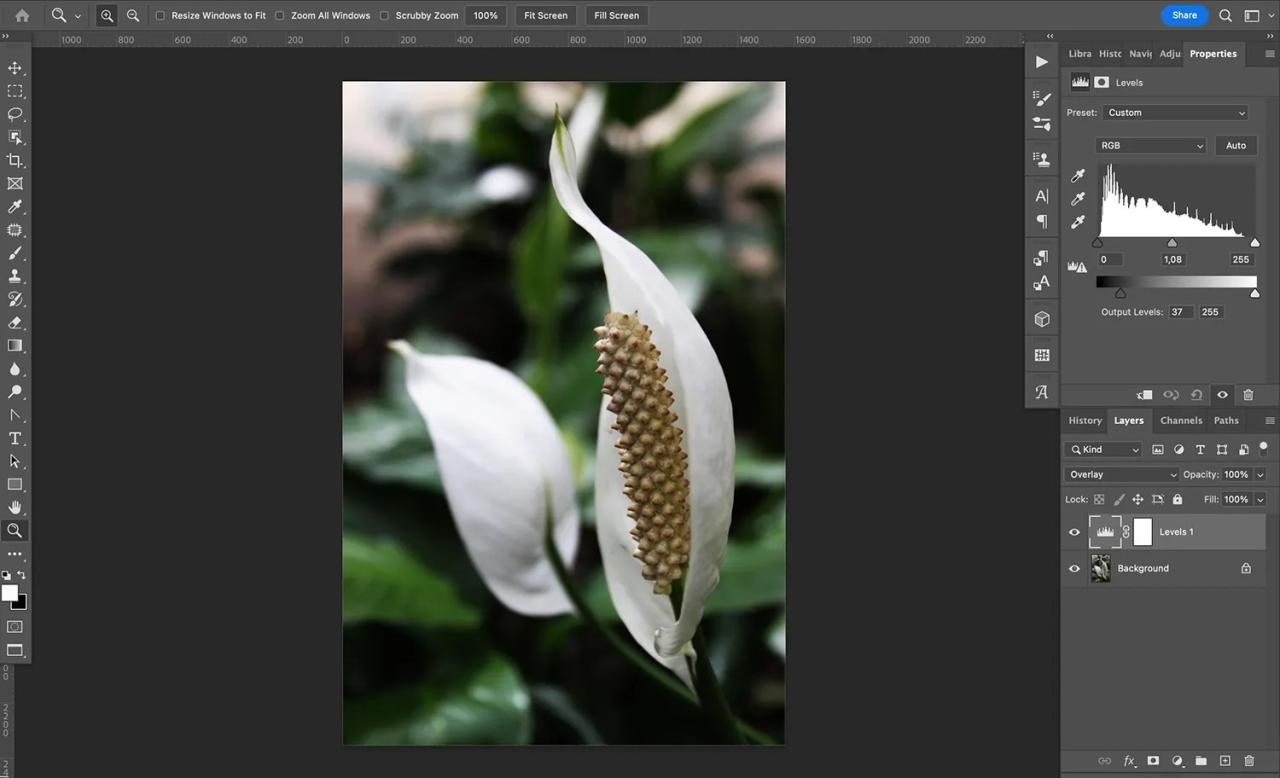
If I am in love with the style but am not sure if it’s enough I can change the level of opacity in the Levels layer:
After you’ve finished creating contrast in levels, it is possible to are able to always add additional adjust layers ( Curves, Color Balance, Hue/Saturation etc.) to adjust your image or save it as is.
Tips for overlaying blend mode
Are you enjoying the potential in Overlay Blend Mode? Here are some additional ideas to discover its full potential!
1. Try applying a tint to your photo
If you’re looking to include the appearance of a tint or a different kind of color grade that you want to achieve Overlay could prove beneficial.
For the next image, I was looking to use a blue tone to evoke cyanotype printing
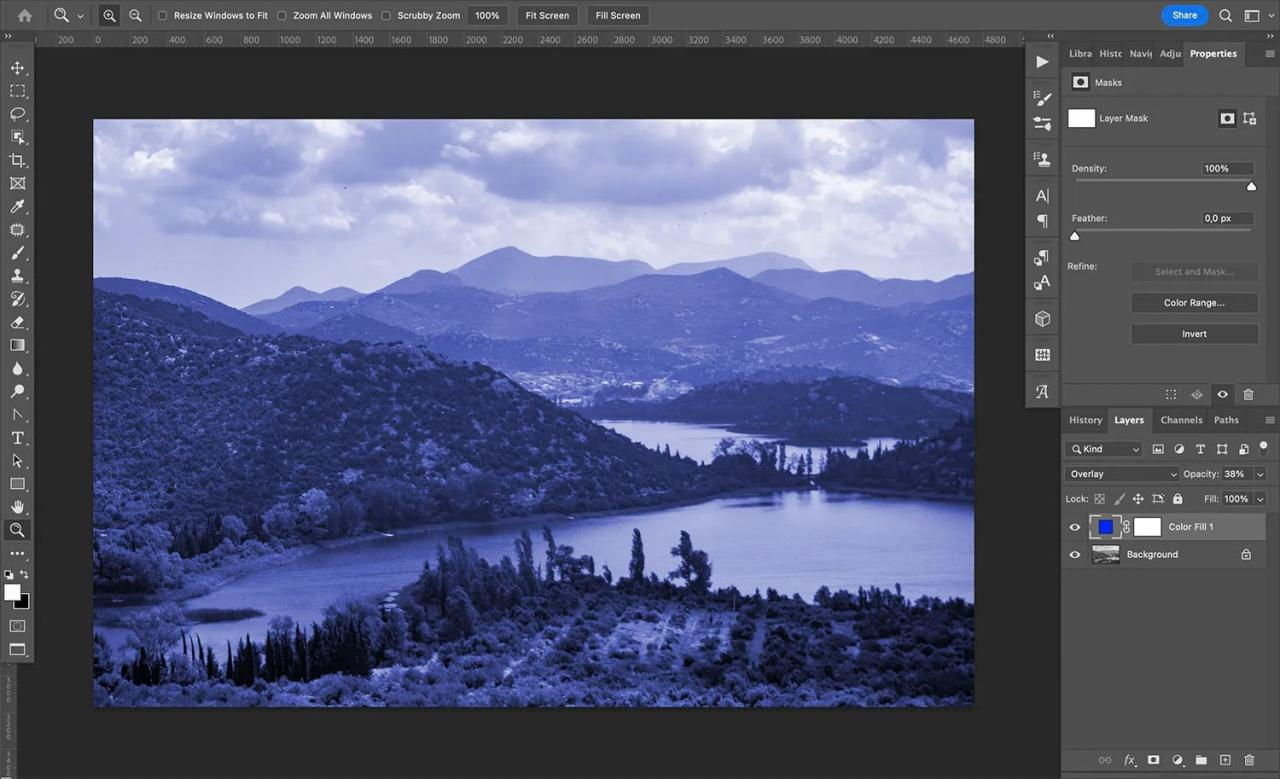
The only thing I had to do is convert the image in black and white. Then, I added an Solid Color adjustment layer, selecting a lovely blue hue, and set the blending method to Overlay. This is how I created the above effect!
2. Do not forget about using the Hard Light blend mode
Photoshop offers a variety of blend mode pairs that can be commuted. When you use a commuted blending mode pair, you can achieve identical results when you apply an individual blend mode on top, as when applying the second blend mode on the lower layer (and changing the layer order).
Overlay as well as Hard Light are commuted blending modes, meaning that when applying Overlay as an Overlay blend mode on the layer above your image will appear like when you apply an Hard Light mode to the base layer before changing the order of the layers. (Just an important little detail to remember!)
3. Create a cool glow effect
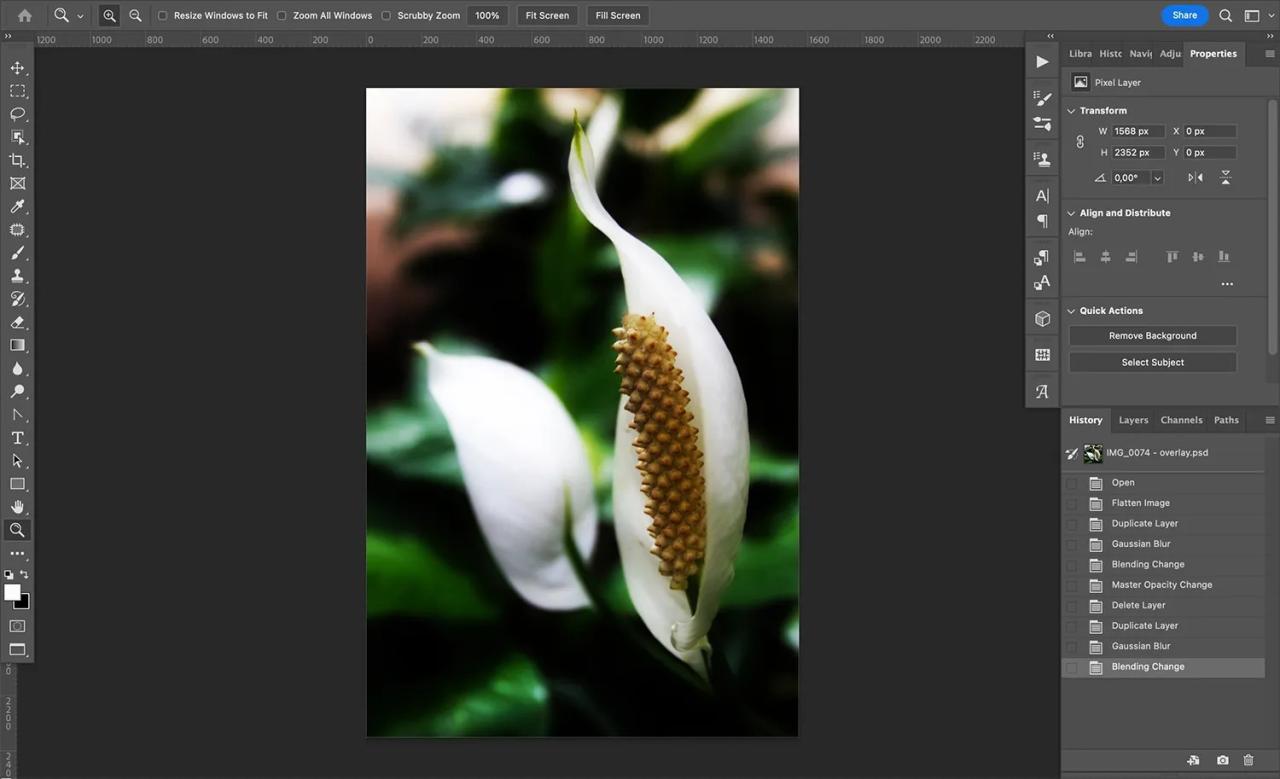
Here’s an interesting technique Use the Overlay Blending mode to create a glowing effect often referred to as an Orton Effectto any image.
Begin by creating a duplicate of your original layer. This can be done by dragging your layer over the Plus symbol on the bottom on the Panel of Layers.
Then, convert the duplicate layer into a Smart Object. (Simply click on the layer, and select Convert it to Smart Object from the menu. Or, you can go to Filter>Convert to Intelligent Filters.)
Technically speaking, this Smart Object conversion step is not mandatory, however it will let you go back and change the glow effect in the future this can come in useful.
Select Gaussian Blur as a filter from the menu. This will display an dialog box in which you can alter the level of blur (this directly affects how much glow effects are created). It is important to note that there isn’t a set blur amount, it’s based on the photograph and your personal preferences which is why you’ll need to experiment with the method.
If you’ve got a outcome you like, simply switch the blending mode to Overlay, change the opacity to your liking and take a look at your beautiful image’s glow!