
Although using the Camera Raw filter is a fantastic tool, there are certain limitations that you must know about.
In particular, you’ll be unable to use certain features for this adjustments to the white balance in ACR due to the fact that it’s not an RAW file. You’ll still be able to make significant adjustments to the temperatures of your photos with this tool however it’s not as flexible as if you were working with a RAW image within ACR. It also won’t have all the Crop as well as Rotate tools that you usually are able to use when working with RAW files.
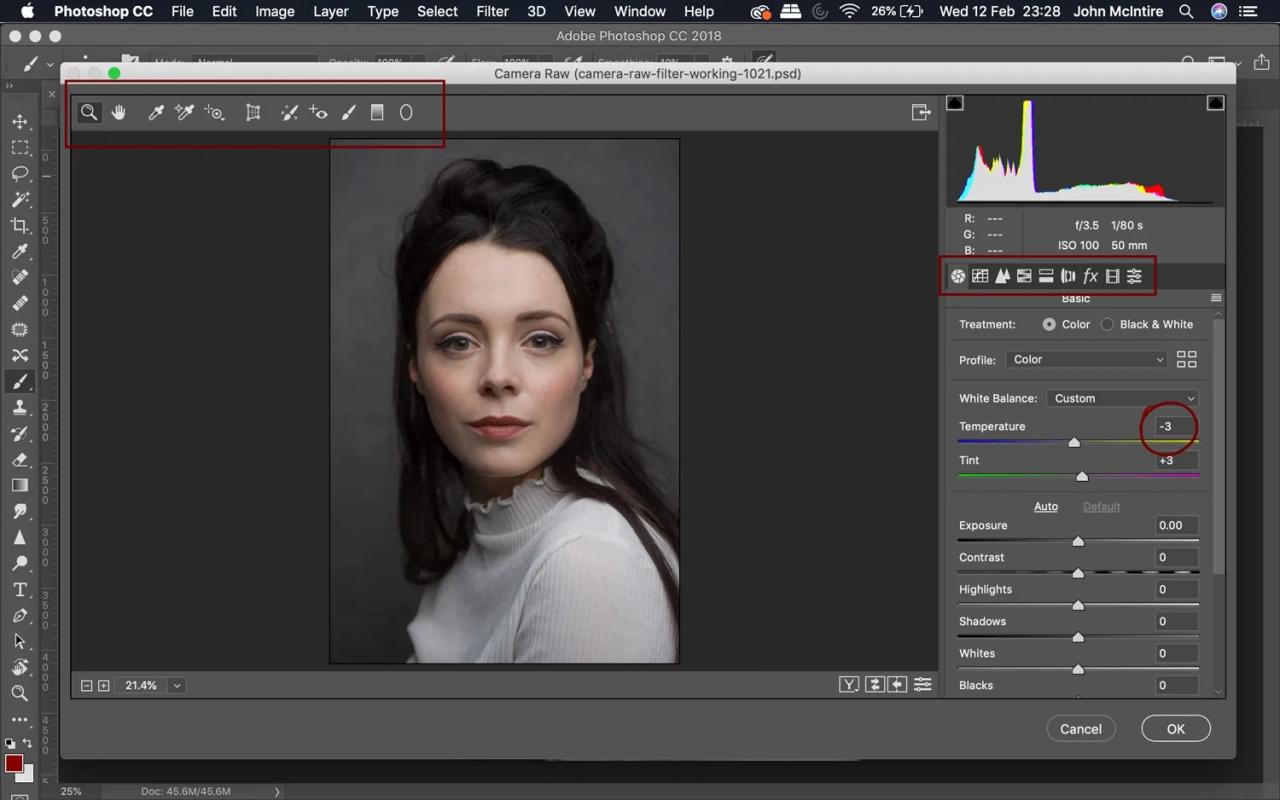
It’s also important to understand that since you’re not working with an RAW image at this time and you’ll not have the same flexibility as you’d have edit in ACR. In reality, the process will be similar to editing the JPEG file with Lightroom as well as ACR. This means that you’ll have less data to deal with.
The bottom line is that if you’re looking to get the most out possible use of Camera Raw, and make the most of Camera Raw filter, you must get your images as close to perfection as you can during the RAW phase of post-processing. This way you’ll have plenty information to work with and, in turn, a greater flexibility – when using Camera Raw in Photoshop.
What is the best way to use you make use of the Camera Raw filter be used?
This filter comes loaded with tools, so much so that it’s impossible to create an exhaustive list of its efficient applications. Here are a few methods I use the filter:
- To fine-tune adjustments following RAW processing
- Certain adjustments aren’t easy to apply within Photoshop’s main interface.
- Quickly adjust the settings that can be applied to specific areas of the image.
- For quick and simple videos
- Make final adjustments prior to finalizing your image
Let’s take a closer review of each method:
1. Fine-tune adjustments following RAW processing
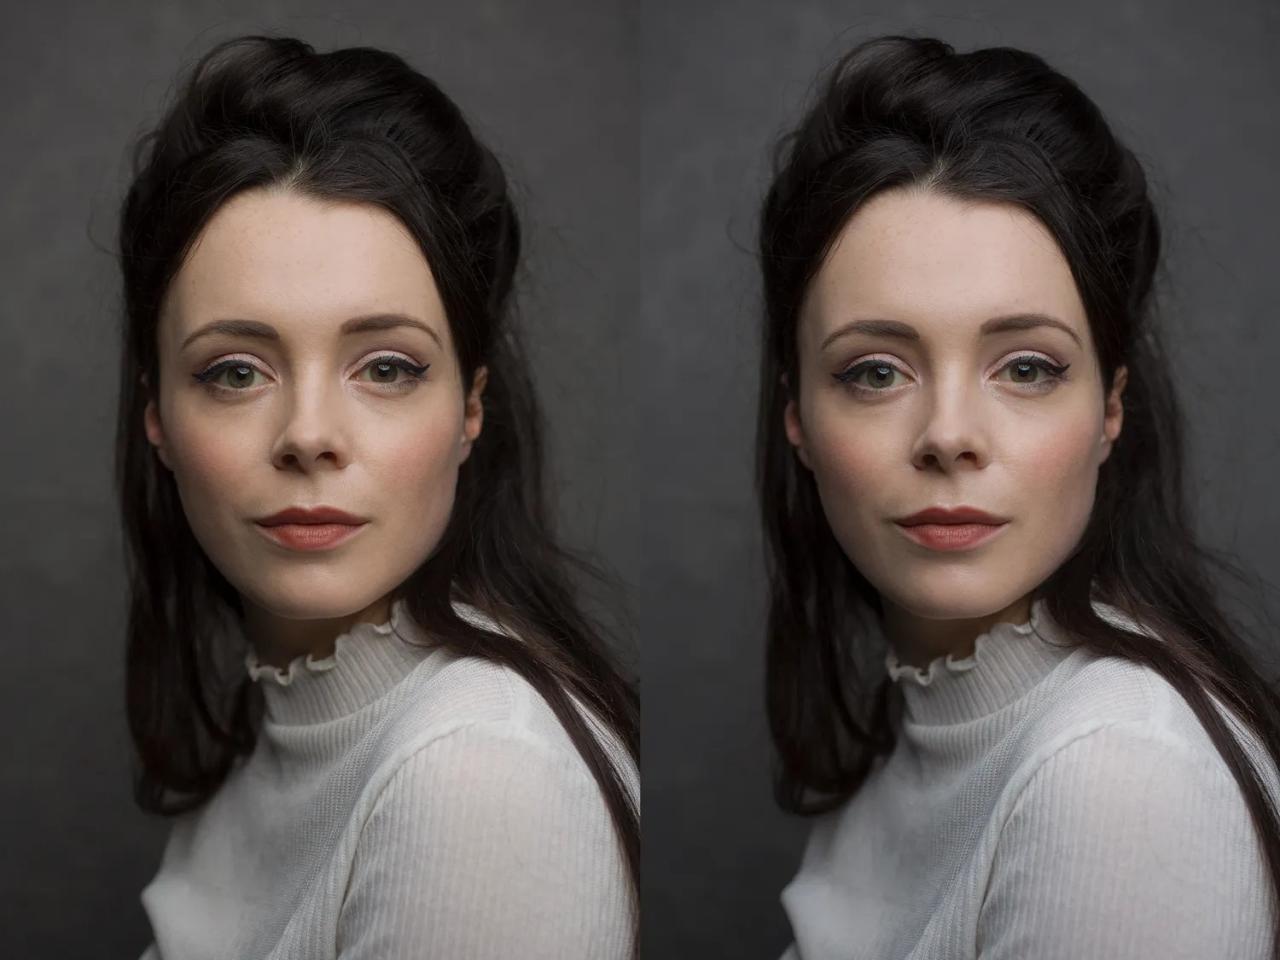
If you’re like me, you prefer making decisions in the moment when you’re working on your RAW images. But have you revisited a photo after a few days or so and discovered that you don’t more like the changes you made? It happens to the very best of us.
The issue, of course is the fact you cannotgo into ACR when you’ve already begun making changes in Photoshop. Don’t want to risk losing all your hard work in the end!
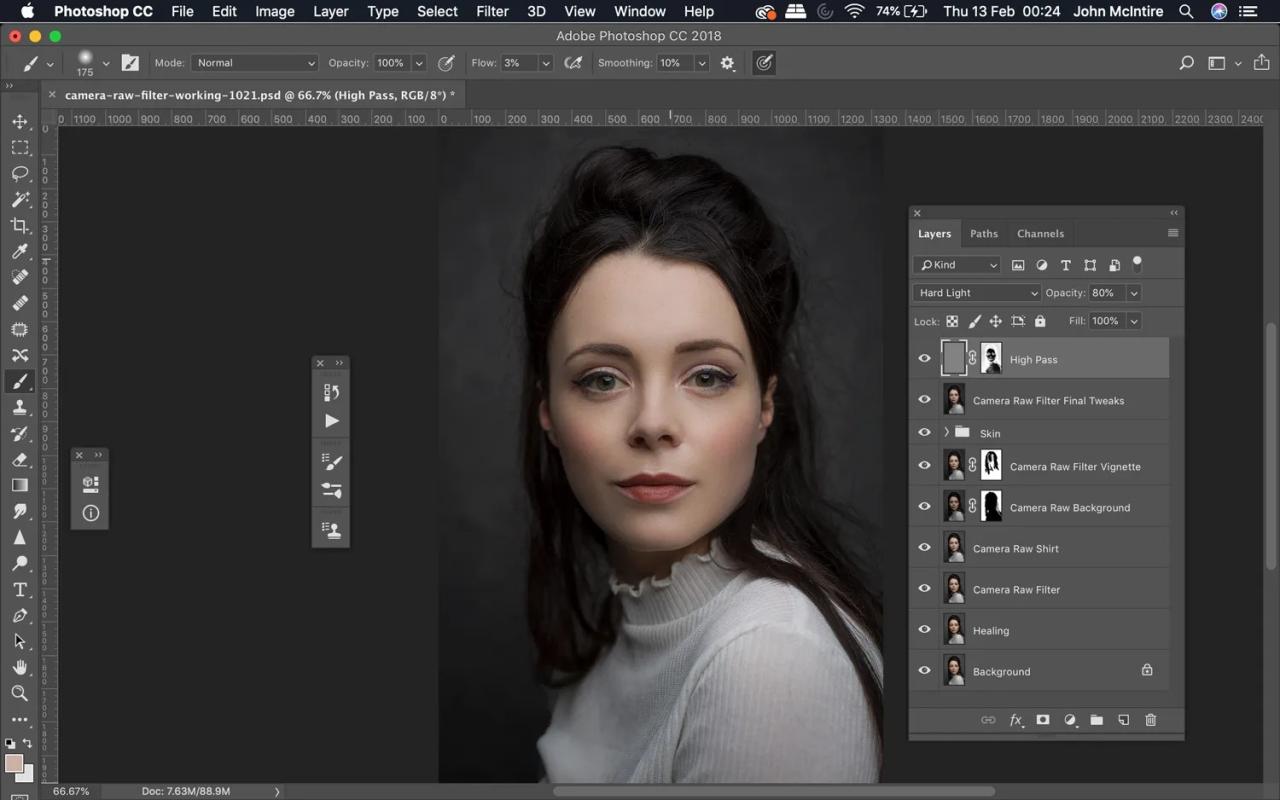
Here’s a simple and simple solution for you: Stamp the layers onto an entirely new layer, then run through the Camera Raw filter. So, you’ll be able to do any adjustments to the ACR format you’d like, but it won’t alter the original image.
This technique is great to make quick adjustments such as contrast, exposure, and vibrancy. It is also useful when you realize that you’d like to lower the whites or highlights prior to going into more detailed editing. (I utilize this technique every day!)
2. Try more complex adjustments
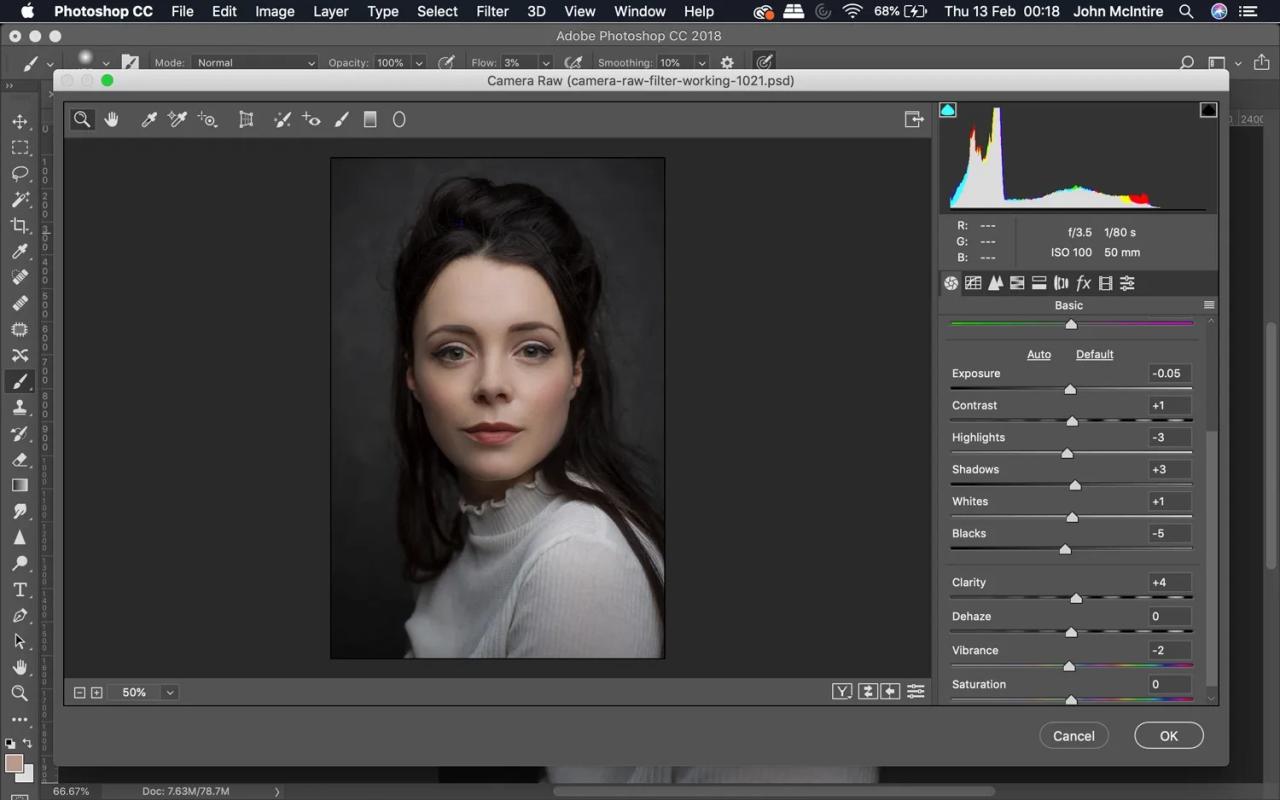
Photoshop may be powerful by itself, however ACR (and Lightroom by extension) can make certain things simpler. For instance it is true that the clarity slider is difficult to duplicate in Photoshop. Utilizing this Photoshop Camera Raw filter to create Clarity adjustments is much easier and could save you lots of time.
Another instance is using the Highlights whites, darks and Blacks sliders. These allow you to create quick, easy general contrast adjustment. These tools are especially beneficial if you’re not completely comfortable or familiar using Photoshop’s Curves and Levels adjustments.
3. Make adjustments locally
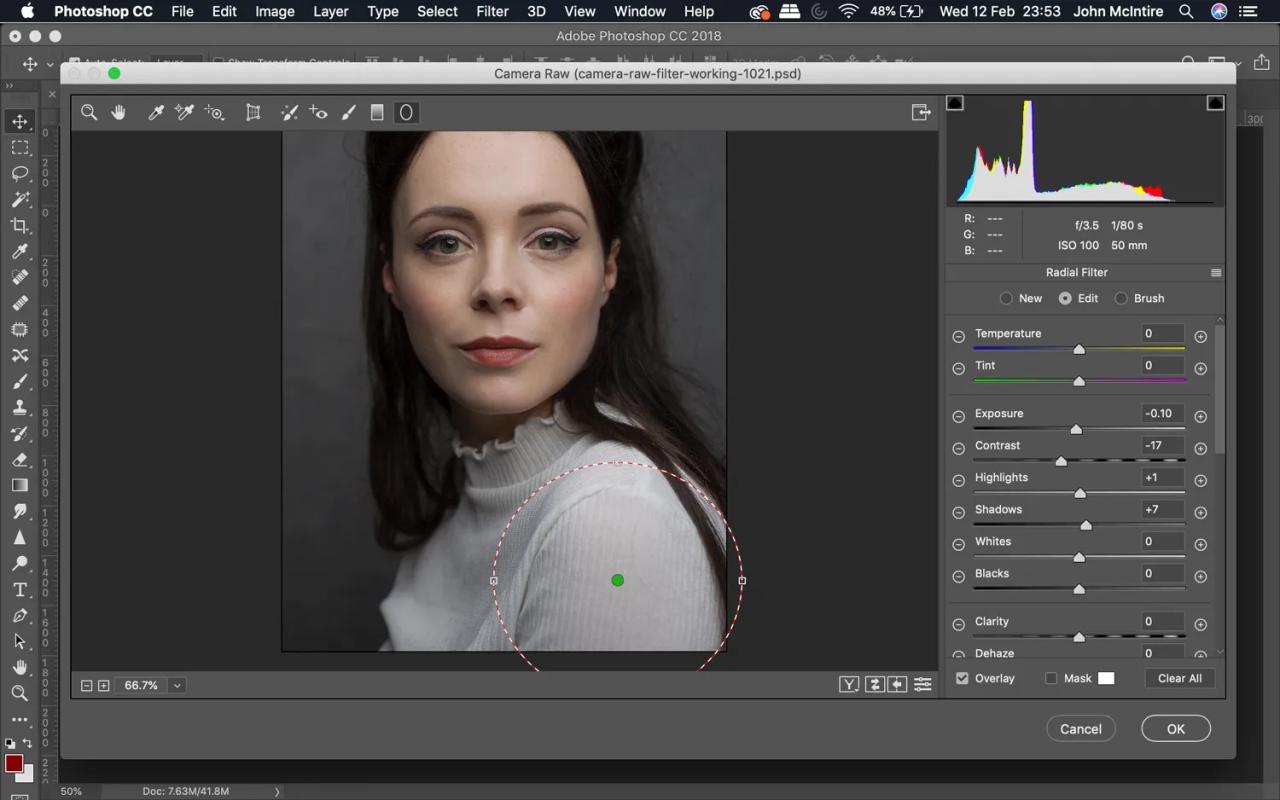
When employing this Photoshop Camera Raw filter, one of my preferred methods is to create targeted adjustments to certain areas, such as the background. After I’ve got my adjustments set I can apply the layer mask to make sure that they only affect those parts of the image that I’m interested in.
This method is great for backgrounds with textures because I can alter the contrast and clarity to my heart’s content, without having to worry about destroying the theme. With a carefully-crafted layers mask I’m at ease knowing that my adjustments will not bleed into areas that are not meant to.
4. Include an image
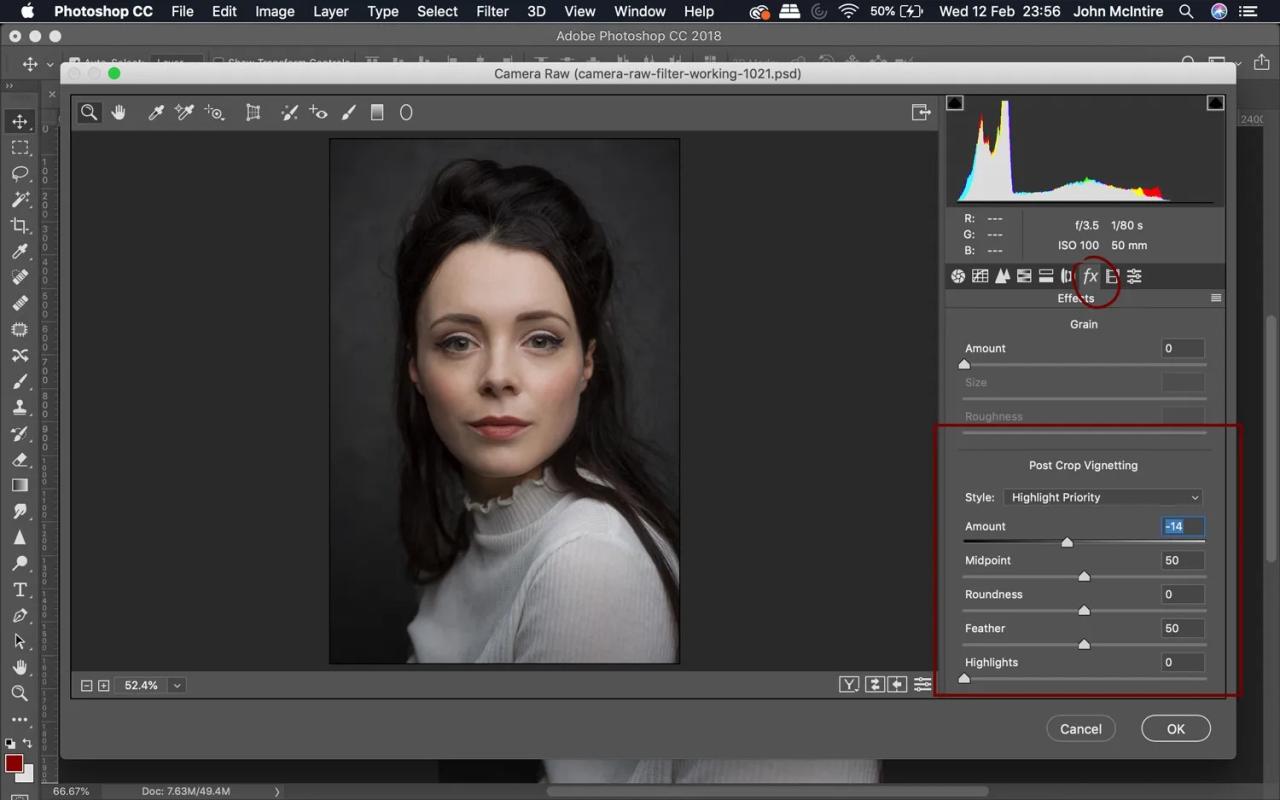
There are many ways to make a vignette with Photoshop. My personal opinion is that, however it is using the Vignette tool – which is available in the Camera Raw filter – is the most simple quick, most efficient, and easy to use.
Simply open The Effectspanel Find an option called post Crop Vignettingoption Then change the sliders so that you achieve an effect that you like!
If you follow this method by using this method, you can create a subtle or, if you’d like an extreme Vignette in a matter of minutes. In addition, if a part of the vignette interferes with your subject matter, you can remove it later by with Photoshop’s advanced masking tools.
5. Make the final adjustments
Another way to utilize this filter is to use the Photoshop Camera Raw filter? Make use of it to make some final adjustments to your photos.
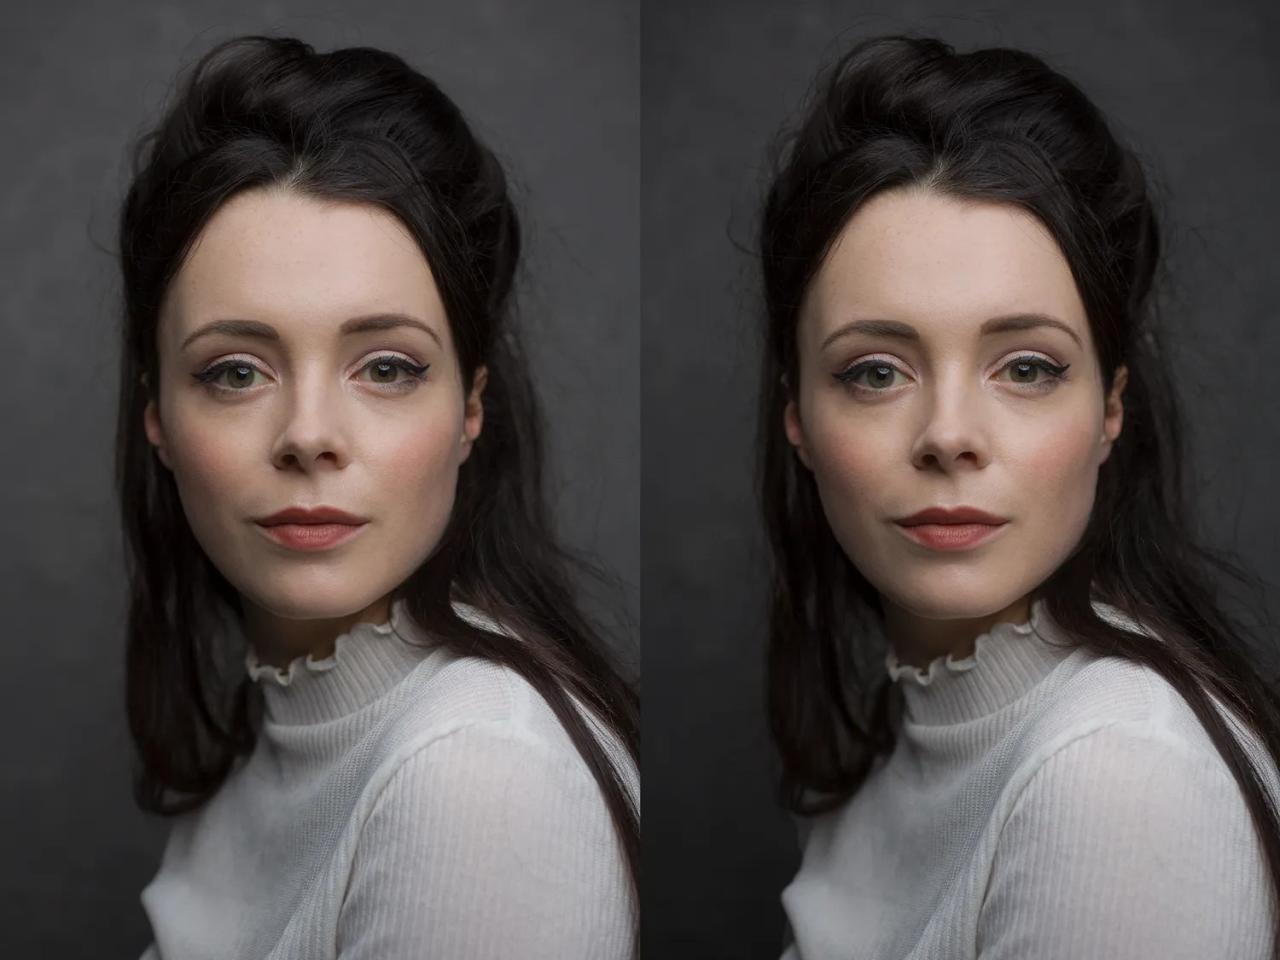
Once you’ve finished editing your photo using Photoshop After that, you can use the filter to see whether there are any other changes you’d like to make. tiny adjustments to transparency, brightness, intensity and vibrance are all able to aid in giving an image some extra shine. Yes, you can make these adjustments using Photoshop but the CR filter and its array of sliders that are easy to use are faster and more user-friendly.
Keep in mind that by this stage in your workflow the image should be nearly done. Make sure that any adjustments in this stage to be minimal and subtle, particularly because you’re not working with a RAW image.
The beginning is only the beginning
With a tool such as Photoshop Camera Raw, you have a tool like Photoshop Camera Raw filter at your disposal, you are able to make all kinds of adjustments with ease.
Most of the time the time, if you are able to achieve it in Adobe Camera Raw (or in Lightroom’s Develop module) it is possible to use the CR filter within Photoshop. You are free to use it however you’d like to get the results you desire.