
Few subjects resonate as universally as food does, making it an excellent candidate for photography. Despite the convenience of smartphone cameras and social media for capturing and sharing food photos, a touch of expertise can make a significant difference. Even the most exquisite culinary masterpieces can appear unappetizing with improper lighting or from an awkward angle.
In our quest for insights on capturing more appealing food photographs, we turned to seasoned cookbook photographer Jim Sullivan. He shared valuable advice on capturing the most flattering food images, regardless of the environment or equipment at hand.
Style the food
Let’s start with a crucial aspect: the arrangement of the food, along with how much of it appears within the frame. According to Sullivan, the approach to photographing sushi differs from that of a sandwich. He explains, “For two pieces of nigiri, I aim to create negative space. While a bit of the table and plate might provide context, the negative space draws attention to the nigiri.” During your shoot, experiment with adjusting the negative space to achieve the right equilibrium.
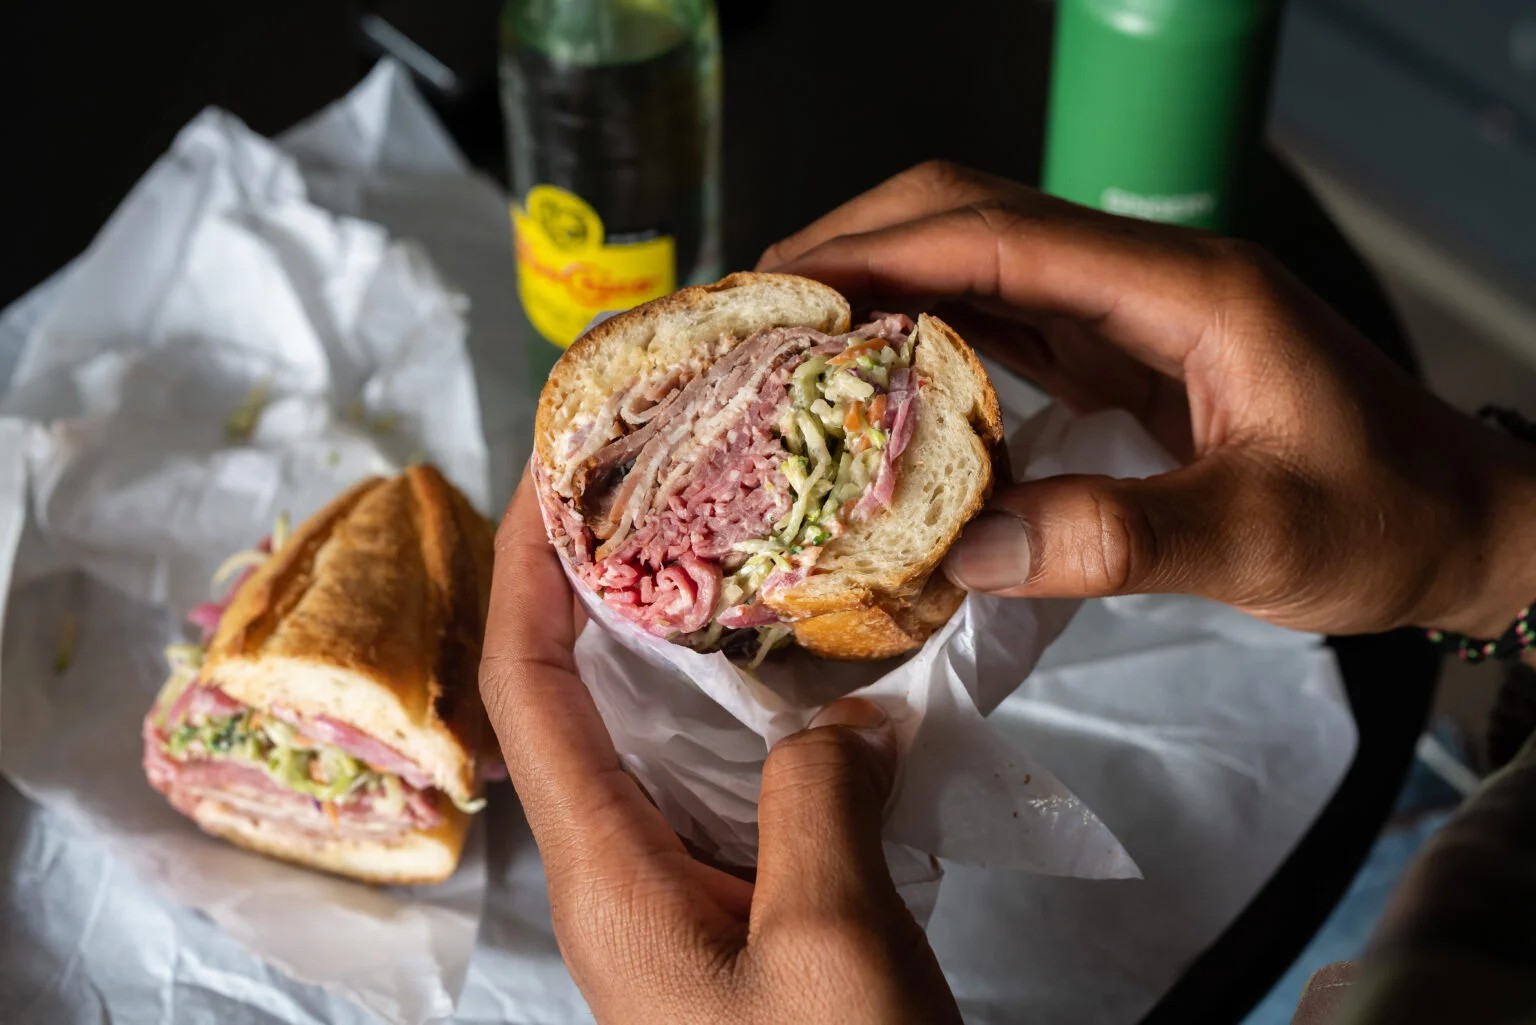
For items like “sandwiches, steaks, or even donuts,” Sullivan takes a more lifestyle-oriented approach. “Including a drink, chips, and some hands in the photo might be fitting. The entire spread is visible, but the sandwich remains the focal point.” To enhance your skills, try repositioning other elements within the photograph to complement the main subject instead of diverting focus from it.
In case the plate exhibits crumbs or any other debris, a quick wipe-down can elevate the overall appearance, creating an impression of cleanliness and intentionality.
Think about depth, mood, and contrast
Variables such as texture, height, and color require careful consideration. When dealing with the height of a sandwich, choosing a lower angle can enhance its towering appearance. For sushi, Sullivan recommends, “Expose for the fish, but also ensure you capture the rice’s texture.” Getting up close or introducing side lighting can bring out those intricate details effectively.
Applying techniques from other artistic disciplines can also contribute to food photography. Sullivan draws a parallel with portraiture: “I approach food just like portraiture. In portraits, you focus on highlighting and flattering the eyes, while paying attention to how shadows cast on someone’s face.” Introducing the edge of a plate in the foreground of the food shot can create depth, while the food’s shadows contribute to its texture.
Your surfaces are important in framing the photograph
Setting the scene often comes down to personal preferences. Sullivan shares his dislike for orange tabletops, noting that they aren’t very flattering, even though many places use them. When encountering a background or surface that doesn’t work, he suggests seeking alternative surfaces to utilize. He recalls a time when he incorporated a “crack in the cement on the floor” as a background element in a shot, and even employed fabric chairs. Exploring your surroundings can reveal surfaces that complement the dish without being distracting.
When photographing at home, feel free to experiment with various plates or serving dishes. Some photographers get creative with materials like tiles or stones if the subject warrants it.
Find the right light
Simplicity is key in food photography. “The best light is a cloudy day. Soft light,” Sullivan suggests. On sunny days, he advises positioning the dish near a window to benefit from flat, diffused light. “Food doesn’t photograph well in harsh light,” he notes.
Attention to shadows is crucial. Shadows shape the food and guide your eyes within the photo. The direction of light is vital in creating focal points without causing distractions. Side lighting generates deeper shadows that emphasize texture, which works well for showcasing layers, such as in a tart. However, for a fondant-covered cake that should appear smooth, side lighting might not be ideal.
For more advanced lighting options, Sullivan recommends compact, portable lights like the Profoto C1 Plus or similar options. “I shoot a lot of stuff on location, and I always have a little light I carry with me when I travel,” he adds. Even a small reflector can be useful for bouncing window light into shadowed areas without resorting to flash, especially in a restaurant setting.
Your phone and apps can be powerful tools
When capturing images on a mobile phone, Sullivan utilizes VSCO to shoot in RAW format, which proves particularly valuable for refining white balance. “In restaurants during service, lighting can appear quite warm in terms of white balance, so you might need to cool it down a bit.” RAW files contain extended color information, granting greater flexibility for adjusting not only color balance but also exposure in your images.
When shooting at home, strive for a uniform color temperature. Mixing natural window light with artificial overhead lighting can result in an unnatural and unappetizing appearance of food. Eliminate the overhead lights or position yourself away from the window to maintain consistent color temperature that can be fine-tuned in post-processing.
Don’t be afraid to move around
“If you’re at the back of a restaurant, you can carry the dish towards the front where there’s a window,” suggests Sullivan. He highlights that restaurants and their staff are generally aware that customers want to take appealing photographs of their food. While most establishments would welcome high-quality images of their offerings being shared, Sullivan advises, “You need to be mindful and avoid causing disruption” to both other customers and the staff.